Showing posts with label recipes. Show all posts

Wednesday, January 14, 2015

Green Bean Casserole - Gluten Free

Back in my Thanksgiving post, I promised I would put up my gluten free green bean casserole recipe. Too many weeks later, here it is.This recipe feeds roughly 12-14 people so if you're not feeding a crowd, half the recipe and you're good to go.

Gluten Free Green Bean Casserole

You will need...

3 cans green beans
2 (I used more like 1 2/3 cans) gluten free cream of mushroom or chicken soup
1 bag Funyuns
Salt and Pepper to taste

Mix the green beans and creamed soup together in a large casserole dish while the oven is preheating to 350 degrees. I had to use cream of mushroom because they were out of the chicken soup. I much prefer the chicken flavor though!

Did you know that Funyuns were gluten free? Neither did I until Gabe was not able to have any. We found the perfect substitute for French's French Fried Onions; Funyuns!

Next, stir in roughly 1/3 of the Funyuns after you've crumbled them a bit. I added some salt and pepper at this point also.

Ready to cook.

Cook uncovered for 20-25 minutes. Top with more (finely) crumbled Funyuns as shown in the picture. Cook for an additional 5-10 minutes or until Funyuns become browned.


 Serve and enjoy!


Monday, January 6, 2014

Peanut 'Butter' Scotch Candy

As I mentioned in another post, I made these candies and gave them out as part of the kids' teacher gifts. They take a grand total of only TWO ingredients and roughly thirty minutes of your time.

Ready, set, here we go...

What you'll need:

1 bag Butterscotch chips
3/4C Peanut Butter

Double boiler or two pots
mini muffin pan
mini muffin paper cups


I do not have a double boiler so I used a large pot half filled with water and a smaller pot sitting inside with the butterscotch chips, like pictured below.


Have your stove on medium heat and begin melting the chips. It takes a while to start but once they begin melting, make sure to stir frequently to prevent them from burning. But while you wait, you can put the paper cups into the muffin pan.


Once they are at least 2/3 or more melted, add in you 3/4C peanut butter and finish melting the chips.


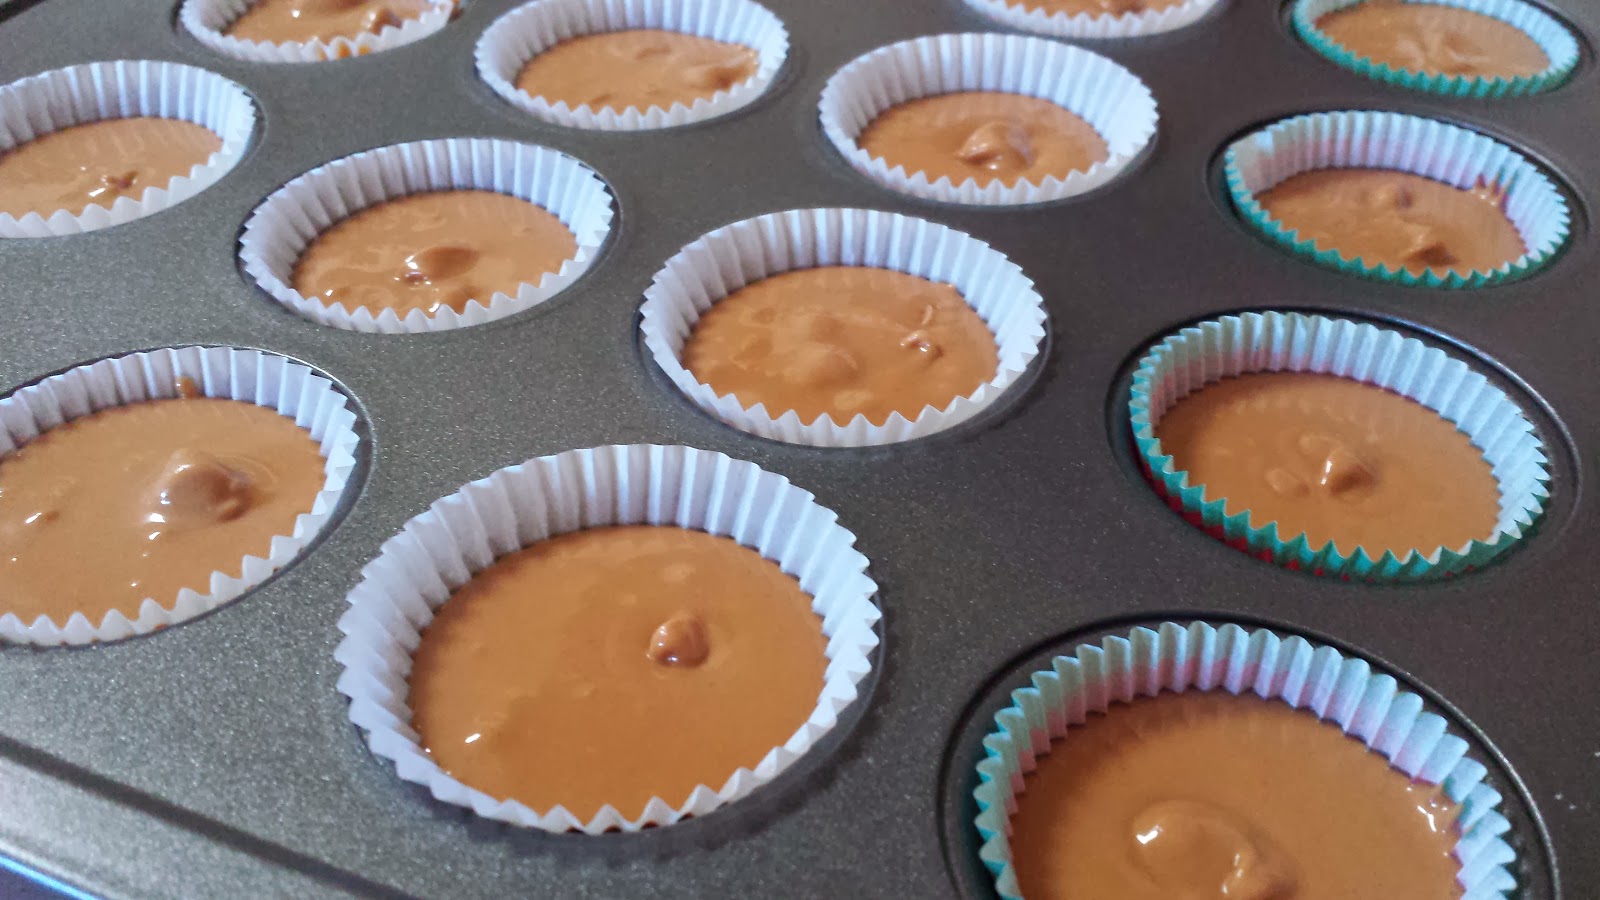
You with me? Of course you are. Now that it's melted, simply spoon a tablespoon(ish) amount into each little cup. Continue until mixture is gone and boom. You're done.


The hardest part is waiting for them to harden. Those of you in the cold weather can set them outside for an hour or so. And for us in the warmer climate, just stick them in the freezer for an hour. Now you can enjoy!

P.S. - For you chocolate lovers, you can melt some chocolate once the candy is hard and put a small layer on top. YUM!

Tuesday, November 19, 2013

Pumpkin Goodness

Way back in the beginning of summer I posted this Pumpkin Cookie recipe. Since pumpkin season is now in full swing, I wanted to bring back the recipe again to share with you. I just made these for our church and received many compliments (great ego booster!).

These can be made Gluten Free too just by substituting regular flour with GF all purpose flour. I left off the frosting when I made them for church and they were still extremely delicious!

PS - They are neighborhood kid tested and approved! The kids loved them so much that they were begging for more!


mmm!

Here we go...

Pumpkin Cookies

1C shortening (I didn't have any so I used butter. Also, if you add some extra butter they turn out super soft)
1C sugar
1 egg
1C pumpkin
1tsp vanilla
2C flour (I used a gluten free flour)
1tsp cinnamon
1tsp baking soda
pinch of salt (pretty sure I skipped the salt)

I added a small amount of nutmeg and cloves even though the ingredients don't call for them.

Directions:
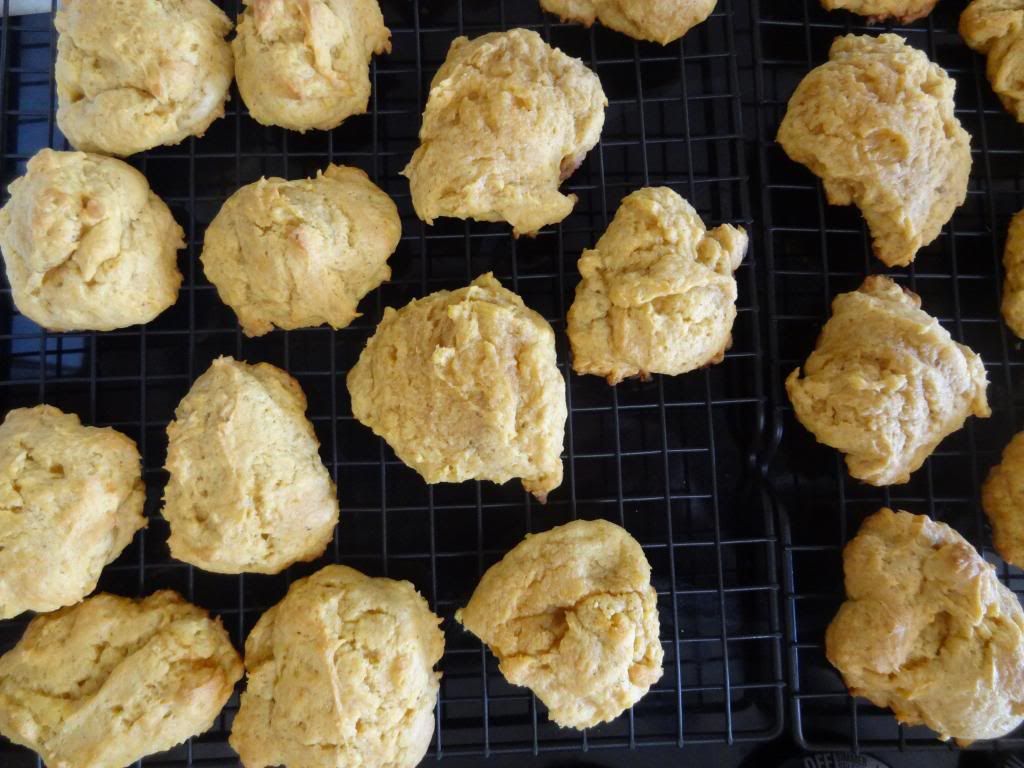
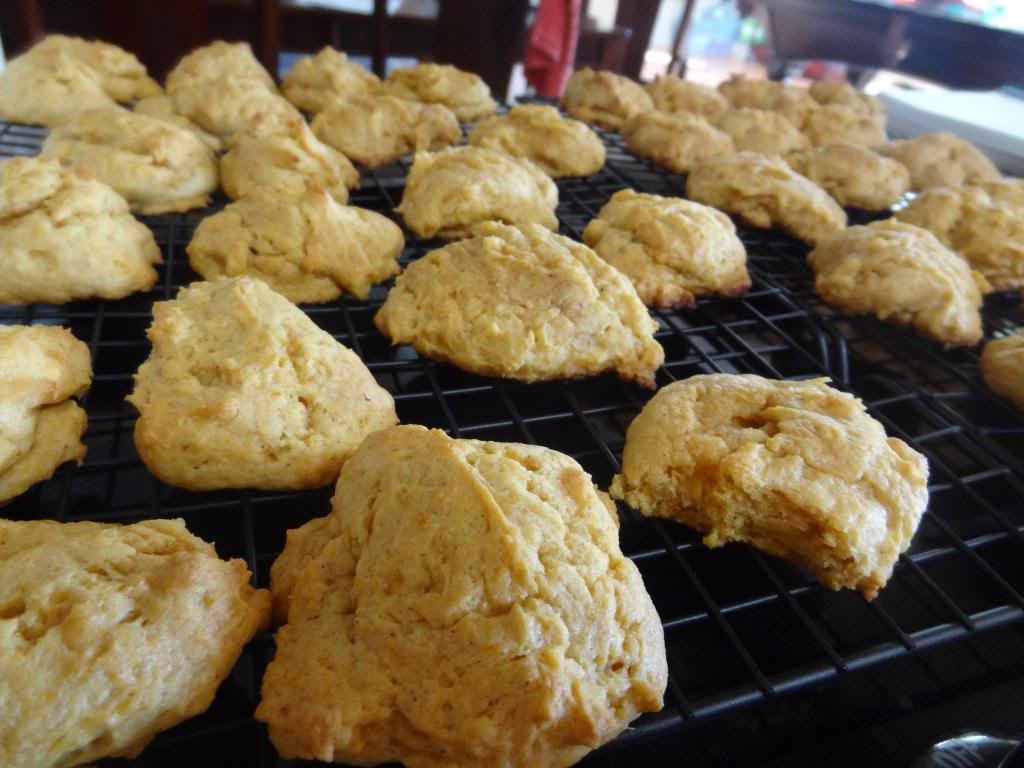
Cream shortening or butter and add sugar and eggs; beat well. Add pumpkin and vanilla. Stir in dry ingredients. Bake at 375 degrees for 10 to 12 minutes. Let cool then add frosting. Makes 25-30 cookies. (side note: I thought they would flatten/smooth out while baking but they didn't. How you plop them on the baking sheet is how they'll bake. Hence, my lopsided looking cookies.)


Frosting

1Tbs butter
2Tbs milk
1/4C brown sugar
powdered sugar
vanilla to taste (I probably added 2Tbs)

Directions:
Melt together butter, milk, and brown sugar. (I microwaved for 15seconds at a time until brown sugar was dissolved.) Add in vanilla. Stir in powdered sugar until desired consistency is reached. (I felt like I was adding a TON of powdered sugar).

Thursday, August 1, 2013

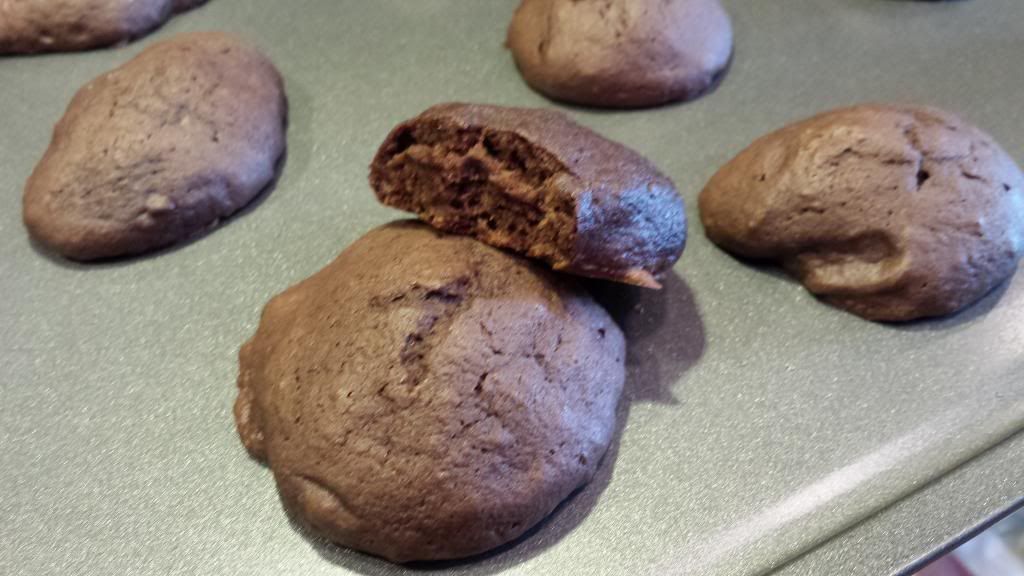
Delicious and Easy Chocolate Cookies

So let me introduce to you the easiest to make cookies that are *out of this world* good. They're so easy, I'm even going to say they are fool proof too!

Ready for this? Here it comes...

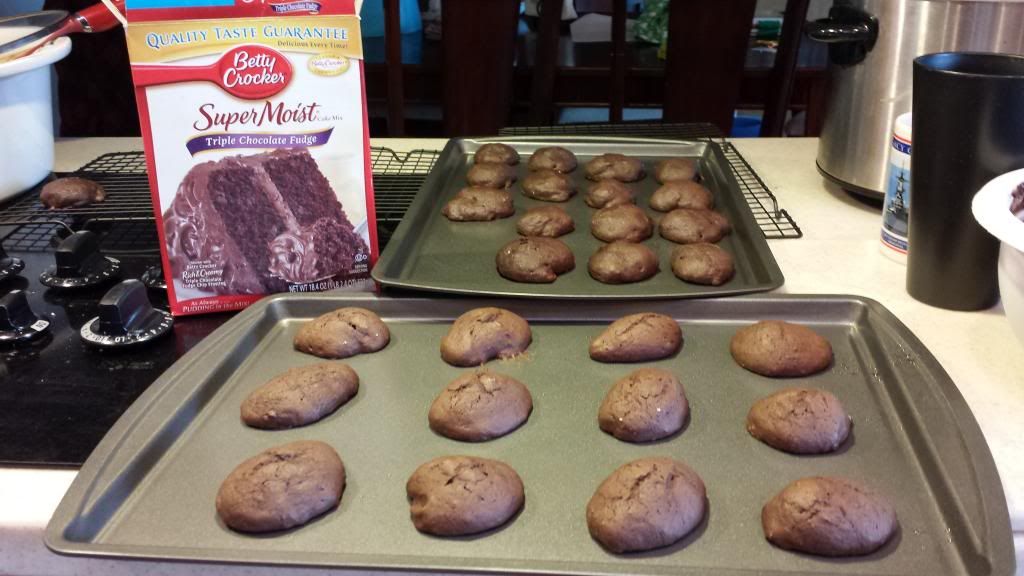
Take a box of cake mix. Betty Crocker, Duncan Hines, whatever. Follow cake mix instructions (usually just needs water, oil, and eggs). Now, you're going to add in just ONE CUP of flour to the cake mix. Spoon cookie mixture onto a baking sheet and bake at temperature on box but for only 10 minutes.


Ta-da!! That was it.        Whew! You still with me? I know that must have been so tough, right?

These are not your run of the mill average everyday sort of cookie. No, these are much more. They're easy to make. They are super soft but not the fall apart crumbly kind. They taste phenomenal. My kids(and church members) devoured them! Did I mention how easy they are? Not only all that, but you can do this with any boxed cake mix.


I had signed up to bring in snacks for church this week and come Saturday, I still had not planned or thought about what I would make. (Please tell me I'm not the only procrastinator here?) Digging through my cupboards I found several boxes of cake mix that I had every intention of using to make glorious cakes which, come on... let's be real here and admit that they would probably just sit there until expired. Quick thinking and a phone call to my mom and I had the perfect "recipe" for cookies.

I had other intentions of making another batch of cookies, this one from scratch, buuuut, yeah I was too lazy. So 11pm Saturday night, I couldn't go to bed knowing that only 55 people from church would get those delicious cookies (fyi -the batch made 55 cookies). Also, what if someone is dieting or they just don't want sweets? What to do, what to do... I quickly rifled through the cupboards and fridge in search of something a little healthier that I could bring that would take minimal effort. Aha! My wonderful husband had brought home two large bags of grapes the other day which would go perfect with chocolate cookies, no? Oh well, they were quick, easy, and healthy so I took the grapes and some scissors and snipped them up into smaller bunches of 6-8 grapes. Took me all of five minutes and I was off to bed to enjoy the few precious hours before my little alarm clock (ahem, Noah..) needed a feeding.


Tuesday, June 25, 2013

Most Awesome Pumpkin Cookies

So I know that summer is just beginning but the kids and I were in a baking mood the other day and these pumpkin cookies were calling my name! One hours and a few messes later, we had the most AWESOMELY DELICIOUS pumpkin cookies. Not only were they delicious, but I made them Gluten Free too!

PS - They are neighborhood kid tested and approved! The kids loved them so much that they were begging for more!

mmm!

Here we go...

Pumpkin Cookies

1C shortening (I didn't have any so I used butter)
1C sugar
1 egg
1C pumpkin
1tsp vanilla
2C flour (I used a gluten free flour)
1tsp cinnamon
1tsp baking soda
pinch of salt (pretty sure I skipped the salt)

I added a small amount of nutmeg and cloves even though the ingredients don't call for them.

Directions:
Cream shortening and add sugar and eggs; beat well. Add pumpkin and vanilla. Stir in dry ingredients. Bake at 375 degrees for 10 to 12 minutes. Let cool then add frosting. Makes 25-30 cookies. (side note: I thought they would flatten/smooth out while baking but they didn't. How you plop them on the baking sheet is how they'll bake. Hence, my lopsided looking cookies.)


Frosting

1Tbs butter
2Tbs milk
1/4C brown sugar
powdered sugar
vanilla to taste (I probably added 2Tbs)

Directions:
Melt together butter, milk, and brown sugar. (I microwaved for 15seconds at a time until brown sugar was dissolved.) Add in vanilla. Stir in powdered sugar until desired consistency is reached. (I felt like I was adding a TON of powdered sugar).


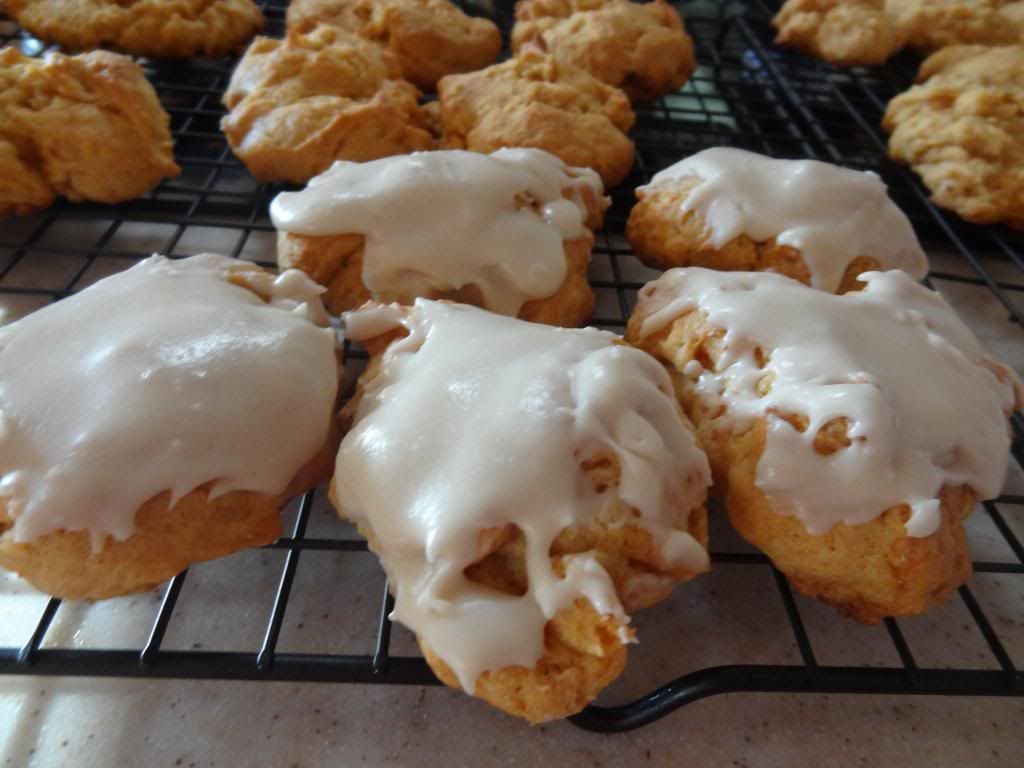
SOOO delicious! The cookies had just the right hint of pumpkin and the super sweet frosting balanced it out perfectly.

Why yes, that is a half eaten cookie sitting there. I just couldn't wait to take a taste! These cookies were great with or without the frosting. I'm not a huge fan of sweet sweet stuff so I left some unfrosted and ate those too.


And like I said, the family loved them and it even had the neighborhood kids coming back asking for more. These pumpkin cookies didn't last more than two days in this house. Gone, just like that.

Monday, August 13, 2012

Let's Can! - Hot Pepper Butter

So this may be my favorite canned recipe so far and I will be making it every year. You can use this stuff as dip, on hamburgers, sandwiches, whatever you want. Seriously good stuff! We shared a can with some family and went through an entire pint jar in one day.


Hot Pepper Butter

you will need

20 green peppers
a few banana peppers or green chilies (I used 5 green chilies)
1 c yellow mustard
2 c white vinegar
3 c sugar
1/2 Tbsp salt
1/2 c - 1 cup flour (I used rice flour because of Gabe's gluten allergy, but you can use wheat flour)
3/4 c - 1 c water

  • Chop peppers into small pieces (I threw mine into the blender)
  • Put into large pot and add mustard, vinegar, sugar, and salt
  • Bring to a boil
  • Meanwhile, make a paste with the flour and water
  • Add paste to boiling mixture and cook for an additional 5 - 10 min or until paste has dissolved.
Put it into sterilized jars and water bathe them for 15 - 20 min. It will make around nine pints. 

The pepper butter is a perfect mixture of sweet and spicy. If you want it less spicy, leave out the banana peppers or green chilies and add a couple extra green peppers.

ENJOY!

Wednesday, June 13, 2012

Bourbon Chicken - AMAZING!

Let me introduce you to my favorite chicken recipe! Chicken is my favorite meat so I like to cook with it often. This is probably one of the only recipes I have found that taste delicious fresh and still tastes as good the next day!

 You're going to need...

  • About two pounds of boneless skinless chicken breasts, cubed into small pieces
  • 1 garlic clove, minced (I used pre minced garlic from a jar (see pic below) and just threw in a bunch.)
  • 1-2 Tablespoons Olive oil
  • 1/4 teaspoon ginger
  • 3/4 teaspoon red pepper flakes (again, I just threw in the amount I wanted)
  • 1/4 cup apple juice (you could substitute with white grape juice if you don't have apple)
  • 1/3 cup brown sugar
  • 2 Tablespoons ketchup
  • 1 Tablespoon cider vinegar
  • 1/2 cup water
  • 1/3 cup soy sauce
  • 1 Tablespoon cornstarch (use if you want thicker sauce)

As you can tell, I don't do a lot of measuring when it comes to seasonings. Liquids I do, but I like to add the amount I think would be good. Doing that, will give you a different flavor every time you make it. :)

  • First, you cube the chicken into small chunks. 
  • Heat oil in pan and cook chicken until lightly browned.
  • Take out the chicken and add the rest of the ingredients, stirring until dissolved.


mmm, such a good sauce!
  • Next, add the chicken to the sauce and bring to a boil.
  • Reduce heat and simmer for 20-30 minutes. (I discovered that simmering it for an hour increases the flavor and intensity. Also, it made it slightly spicier. Much better simmering for longer!)
  • Serve with white rice.


 OMGosh ya'll, this stuff is AMAZING! If it were up to me, I would make this at least once a week. It has the perfect amount of sweet and spicy.

I'd love to hear if any of you make it, and what you thought.