Showing posts with label DIY. Show all posts

Tuesday, December 3, 2013

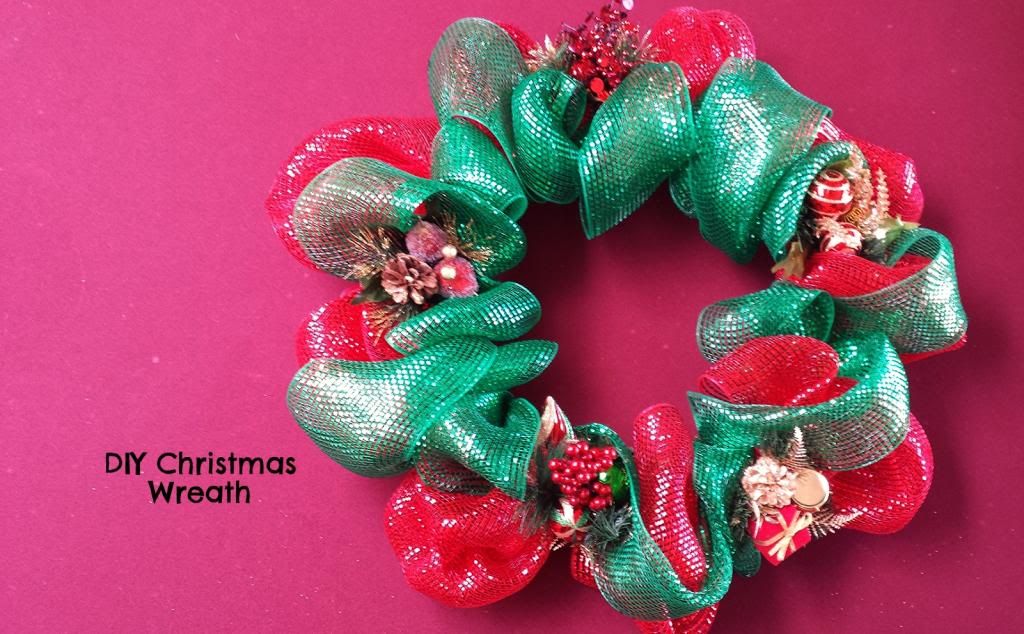
DIY Christmas Wreath


 Christmas is juuuuust around the corner and folks are putting up their trees, lights, and all the other millions of different decorations. In previous years, I have seen pictures of homemade deco mesh or burlap wreaths and always wished I was that creative.

After hearing fall decorations were 80% off at Hobby Lobby, I walked in hoping to score on some good fall decor and walked out with Christmas stuff. Huh? I know. BUT! Hobby Lobby had all things Christmas on sale for 50% off and this lady was not going to pass up that sale. Walking through the aisles, I came across bare wreaths and deco mesh. At half off I thought now was as good a time as any to test my creative ability.

So! Let's get this show on the road. To the instructions...

You will need:

one wreath frame (mine was 16")
one large 21" roll of deco mesh
one small 5" roll of deco mesh in different color
scissors
any embellishment you want to add on (optional)

To start, take your wreath frame and put one end of the 21" sized deco mesh on the OUTER larger ring and secure with ties. Take a 10" section, bunch it up, and secure with another tie. Do this all around the wreath, then cut off the mesh from the roll. Try to keep your bunches the same size or close to it so it won't end up lopsided.


It will look pretty bare but that is what the smaller deco mesh is for. Start off the 5" deco the same way. I alternated between large and small bunches shown in the pic below.


Go around the entire wreath and once the last bunch is secured, cut the mesh from the roll. You can leave your wreath as is or add on the embellishments.


I wanted to add some embellishments and after FOUR different trips to Hobby Lobby returning and buying new ones, I finally settled on some that I thought fit and looked good with the wreath. And I am happy happy happy with the end results!!


After buying matching embellishments to put on the wreath and hating the look, something clicked in my brain and I decided that wasn't needed. So I chose five different but similar ones to add on and I love the look. Even Gabe commented "That looks really nice!". I agree. And it looks fantastic on the front door.


Not bad for a first try!

Tuesday, November 26, 2013

DIY Dishwasher Detergent

The other day I ran out of dishwasher detergent and in a house of 5 members, that's no bueno. I didn't want to make a special trip to the store just for that but the sink was piling up with dishes and I had three choices; wash them all by hand (no thank you!), go to the store and buy detergent, or make some.

I had seen a few pins on Pinterest about making your own dishwasher detergent and decided now was the perfect time to try my own. The ingredients are simple...

Borax - 1 cup
Washing Soda - 1 cup
Citric Acid or Lemonade mix as a substitute (I used two packets of Lemonade Kool-aid)

There are variations of the recipe out there but this is the simplified and very basic version, also the cheapest.

Since April, I have been making my own laundry detergent (works just as well as store bought but for a fraction of the price) so I already had the Borax and Washing Soda on hand (also had the Kool-aid on hand, thankfully). The directions are super easy too...

Thoroughly mix the three ingredients together and use only 1 Tablespoon per wash.


After using this for a week now and through several wash cycles, I have discovered using more detergent causes a film to stay on the dishes so don't use more than directed. This recipe should last you about 2 months if you're like me and run your dishwasher every other day. It is very easy to double or even triple the recipe if you'd like. And total time to make this detergent? Oh, about five minutes. Way less time and much cheaper than if I had gone to the store.

Winner winner folks.

Friday, August 23, 2013

The Red is Dead

So I mentioned last week how I was going to paint the bedroom. Well I did... Sort of. I got the wall primed. Half of it. But that's beside the point! I just need to get it out there so I can get the umph to finish the job. And I will, oh yes I will.

We had this big dream when we bought the house of having a half red wall with a chair rail and it was going to be glorious... And then life got in the way. We had to move in before the painting was done, I was pregnant, then we had two kids under two, and yada yada. Long story short, the red was AWFUL and it's one of those "What were we thinking?!" type of things. We've been discussing for a while now a much better color of blue for the bedroom and I think I finally hit the breaking point and just decided to go for it.

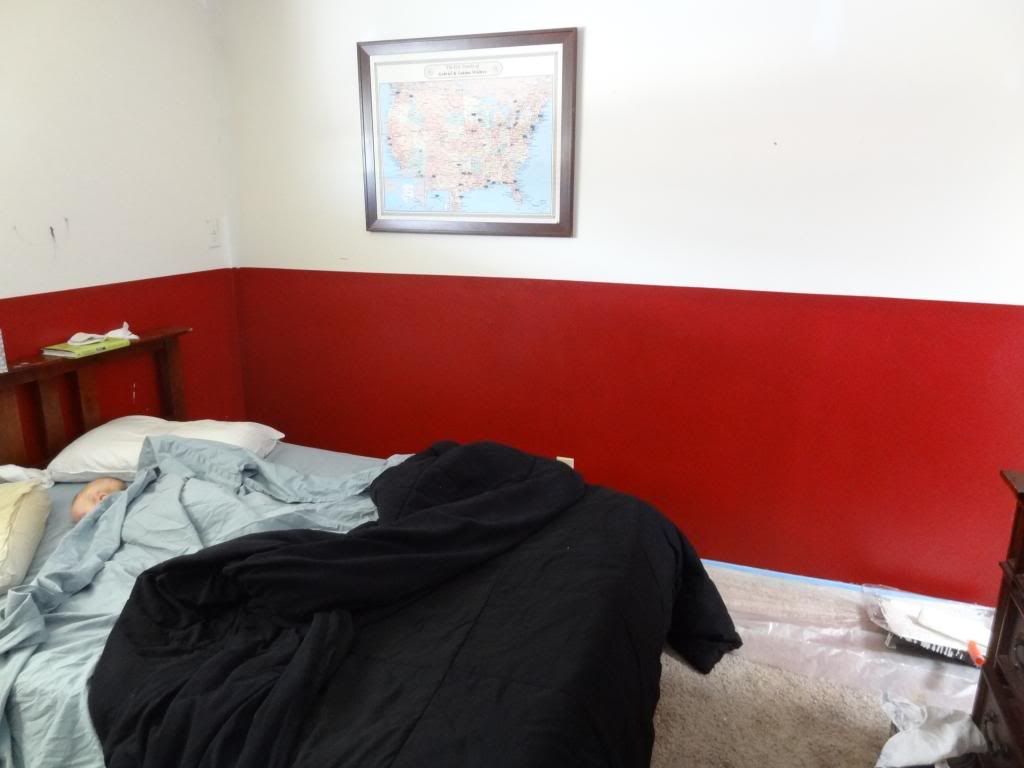
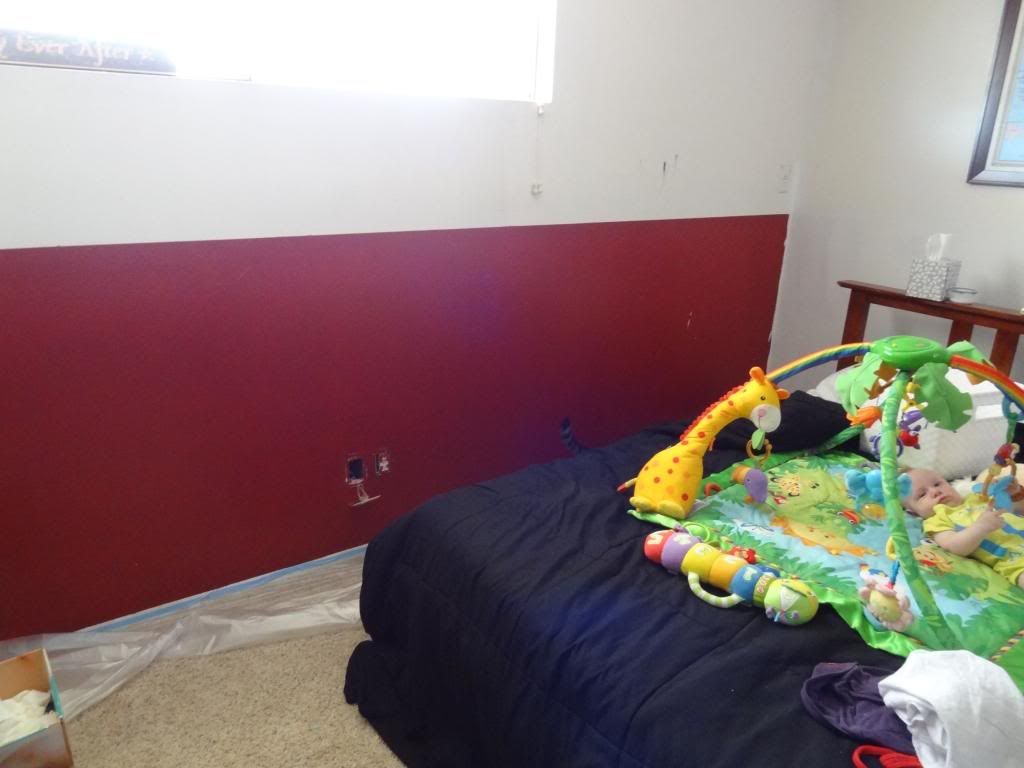
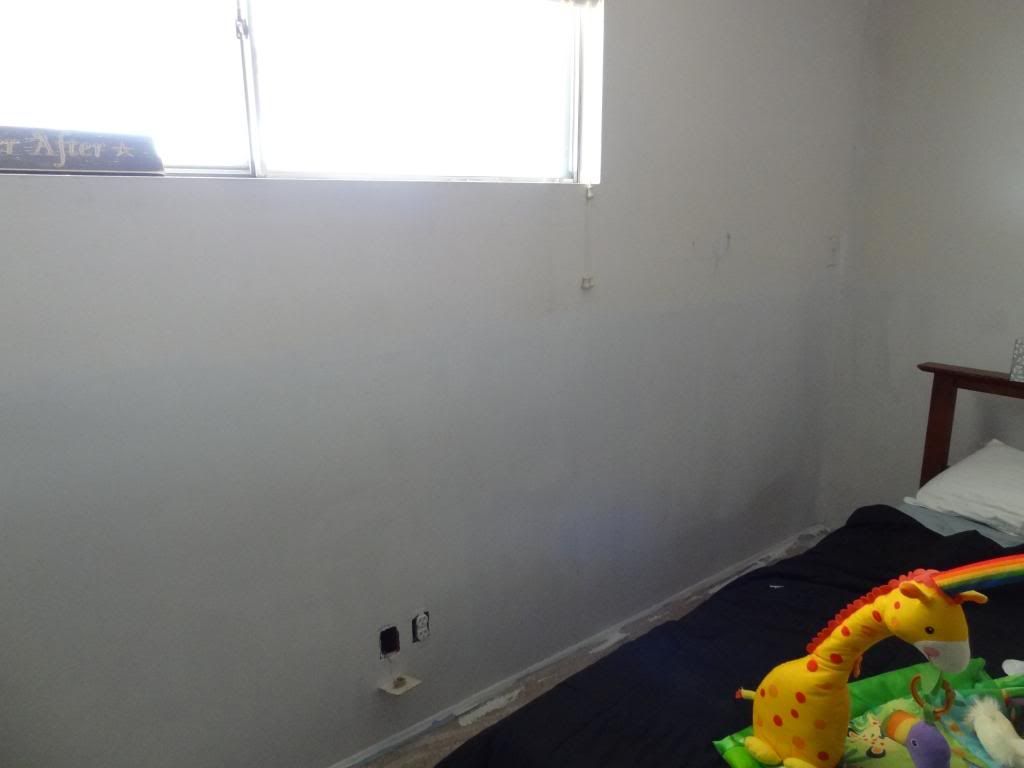
So here is the somewhat before... (we moved some things and I've already got plastic down but you get the point)


Yeah.... that's quite an obnoxious color of red, isn't it?

I used a High Hiding Primer from Valspar and one coat covered it great. I was afraid it would take more because of the darkness of the red but this did the trick and I'm very happy with it.


The color I've picked is Turquoise Mist from Olympic. It has a hint of green to it. I debated going with a blue that had hints of grey since that is really popular right now but I like green.

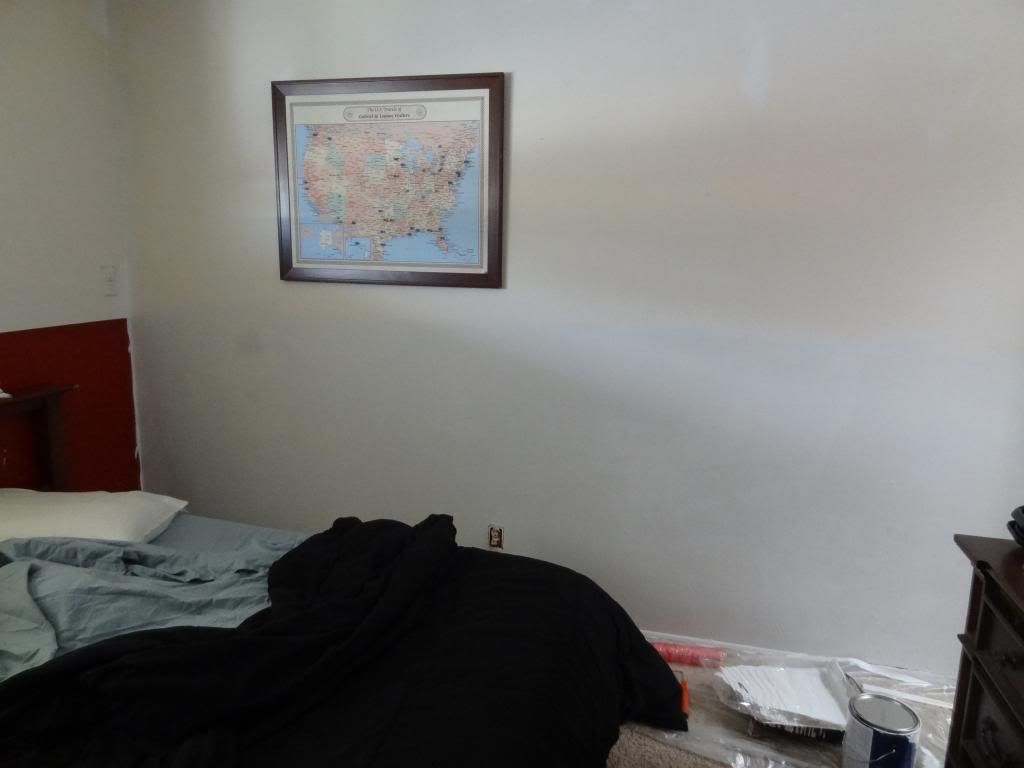
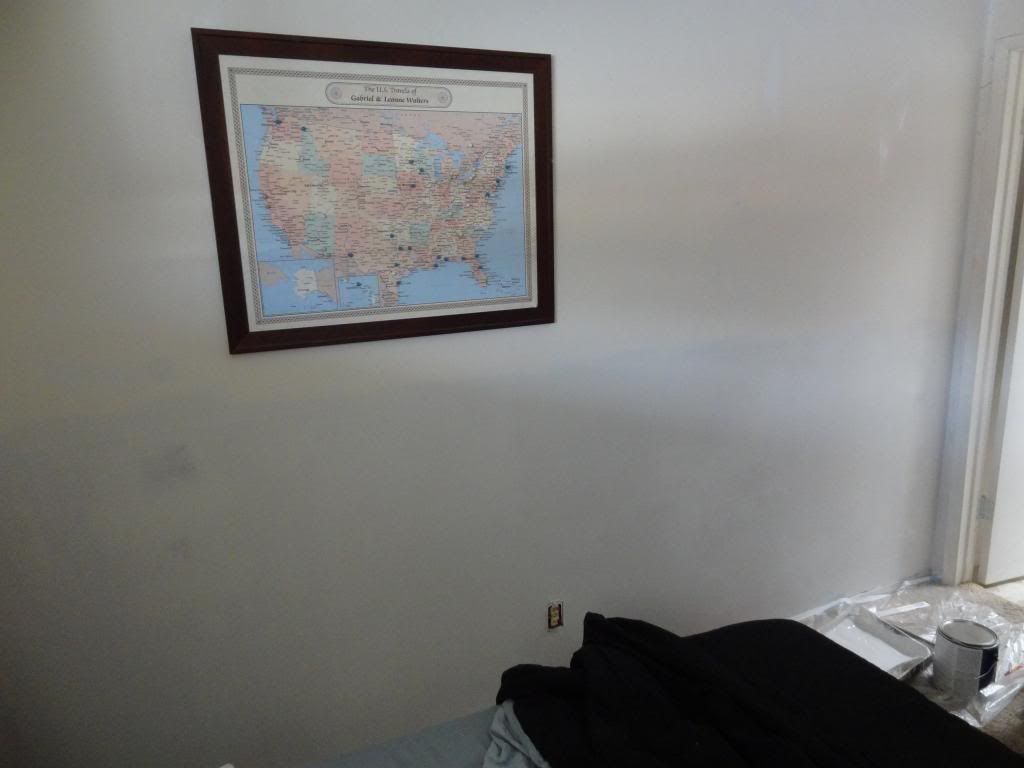
One of these two walls will be the blue wall but I just can't decide. Any suggestions? Should we paint just one wall, both pictured, or just go for the whole room?

Sunday, May 26, 2013

Handy Husband = Happy Kids

Also makes for a happy mommy! When daddy is good at DIY, it makes for happy kids.
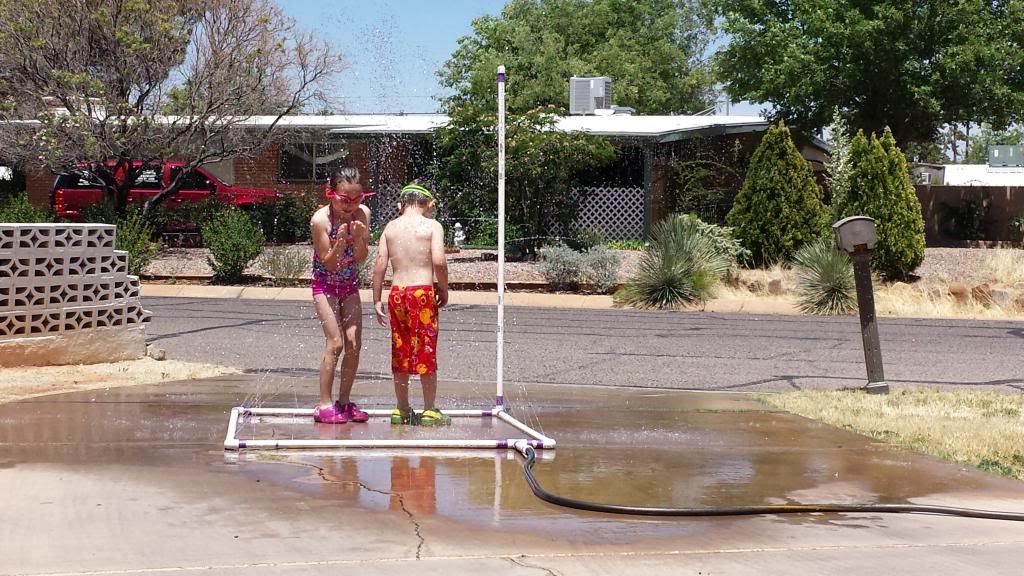
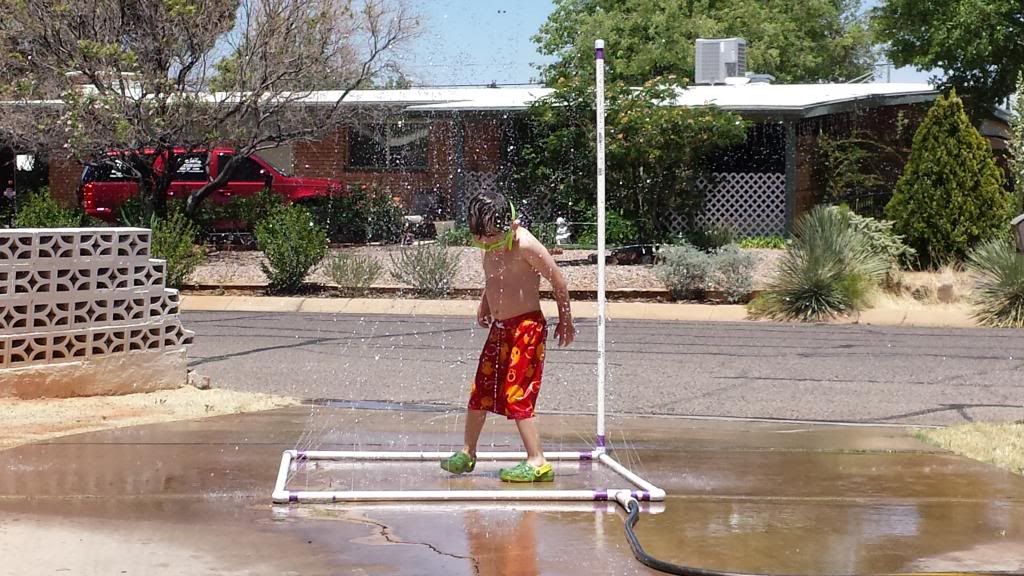
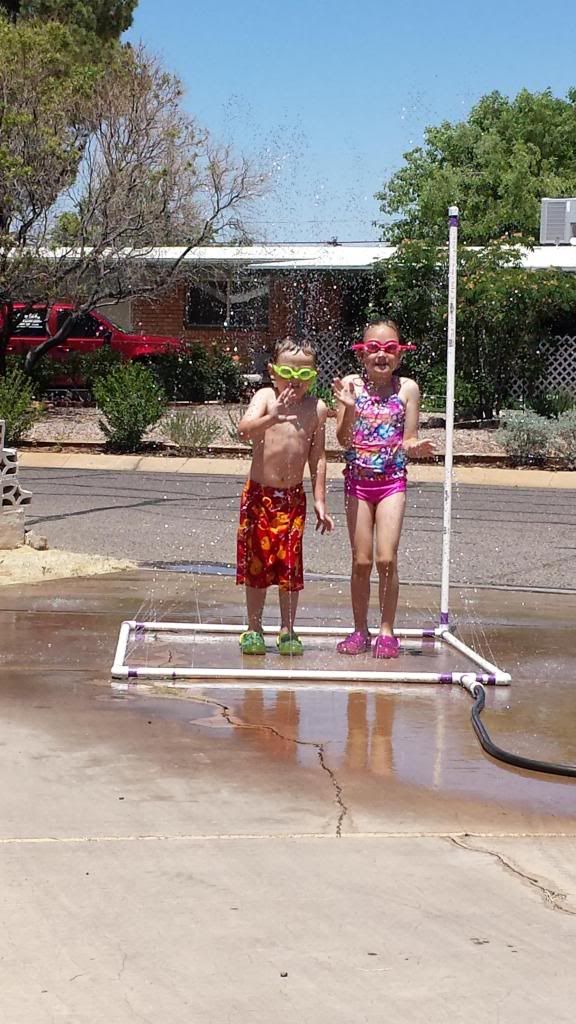
Gabe recently built a PVC sprinkler contraption after spying some on Pinterest. He scoffed and said he could build one himself. So off he goes to Lowes to get what he needs. A couple trips and a few hours of work later, he had it built. And yes, it is awesome and the kids loved it.

Next weekend we'll get to test it out when Christian's soccer team comes over for an end of season party. That reminds me... I've got to get this house whipped into shape and guest ready! Blah, not my favorite thing to do.
And here's a short little video of Alena's first run through it.


Monday, February 25, 2013

Project Playroom COMPLETE

Goodness sakes, that took long enough!! We started this project in mid January and it's now the end of February. It was a LOT of work and we did have to put it on hold for two weeks while Gabe was on a business trip.

Here's a reminder of where I last left you... We had started the project, then I gave you an update.

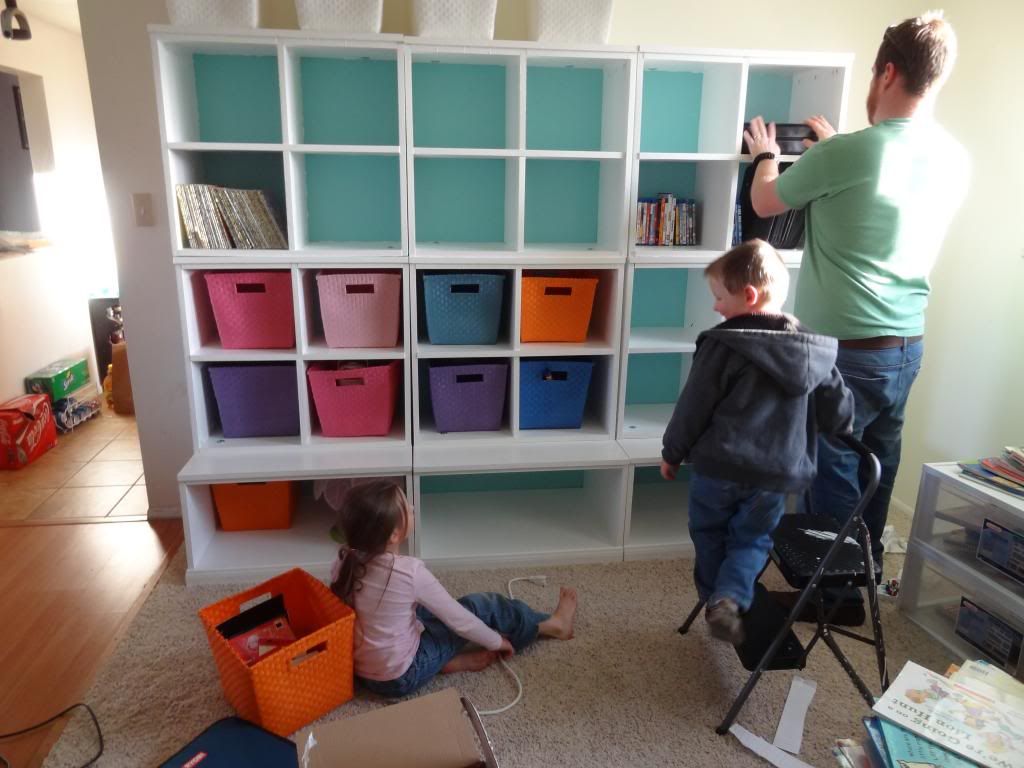
In my last update, we just needed to finish the painting. After finishing the painting, we played a little Tetris with figuring out the best way for the shelves to fit together. Yes, they were all the same, but since we built everything ourselves, they weren't all exact. We stacked them, then Gabe bolted them all together and anchored them to the wall for the best stability and to ensure safety.

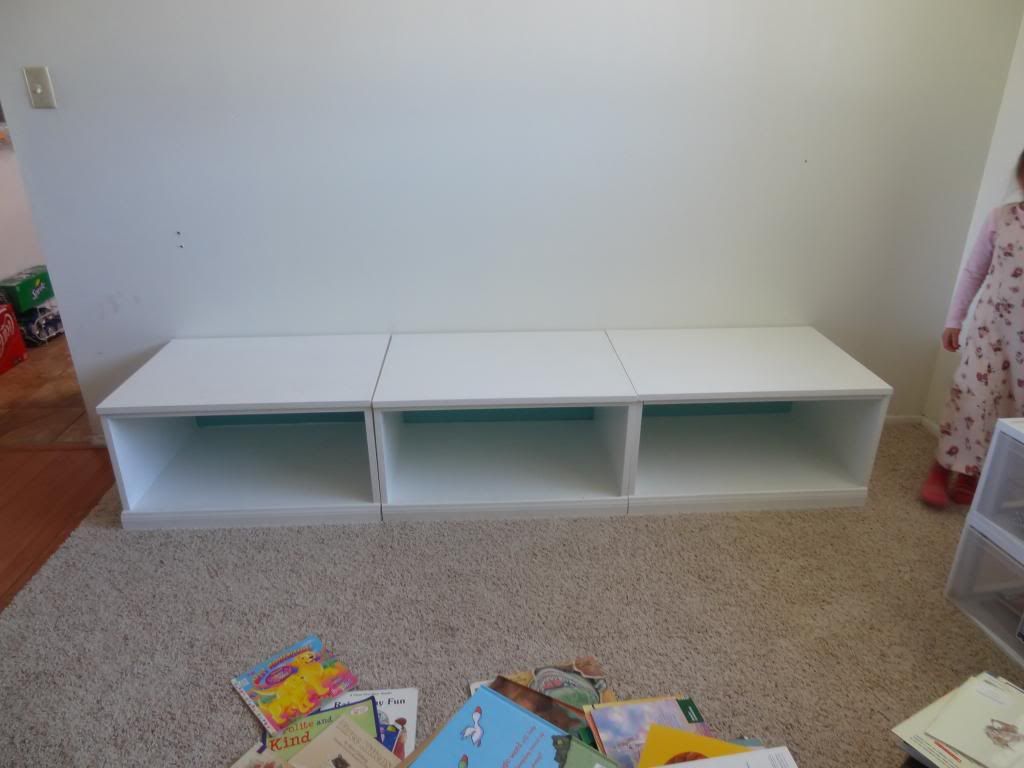
We figured out how we wanted the bottom three large cubbies to go first.

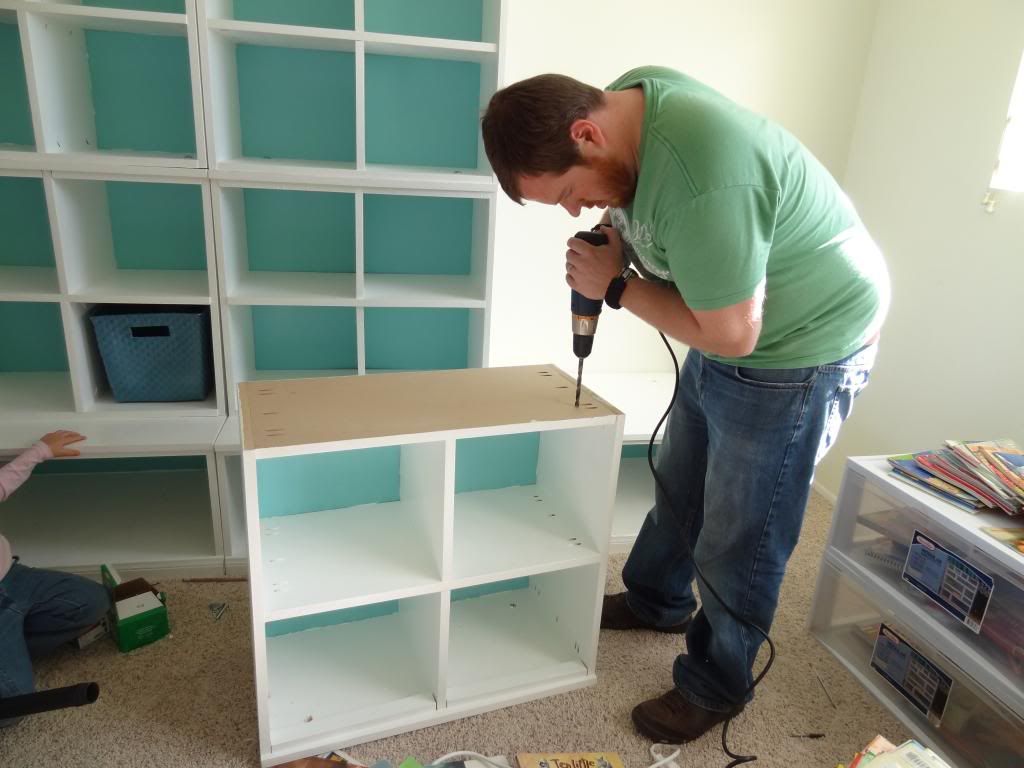
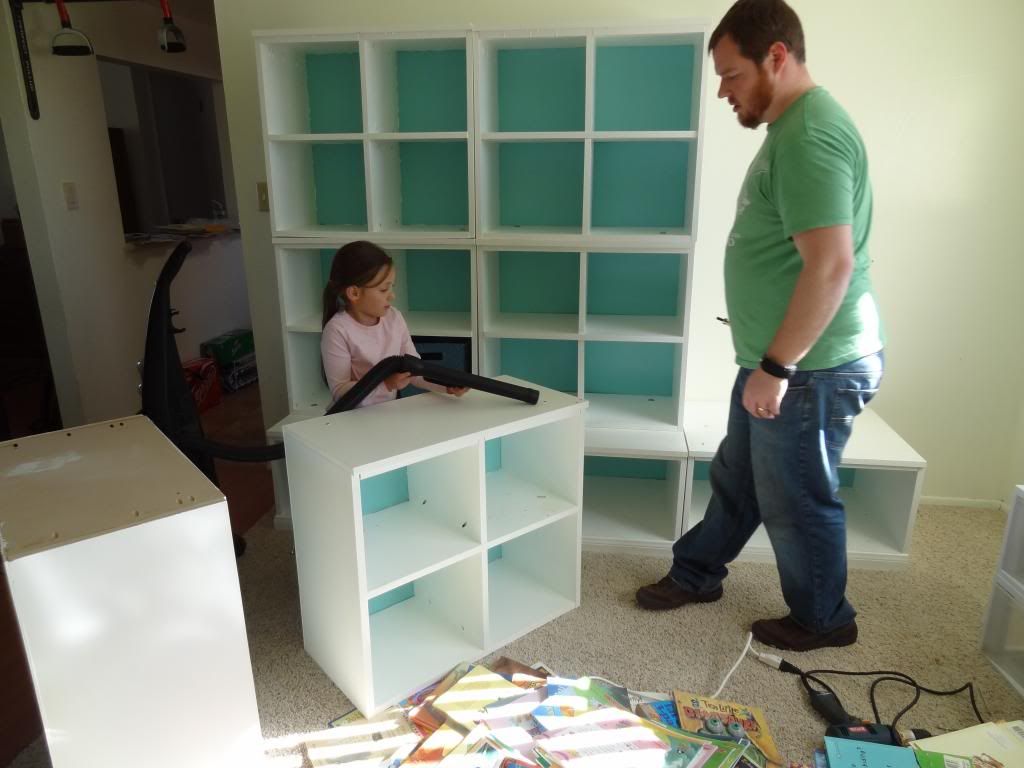
Next Gabe drilled the holes to bolt it all together and Alena would then vacuum the sawdust in order to keep the carpet cleaner.

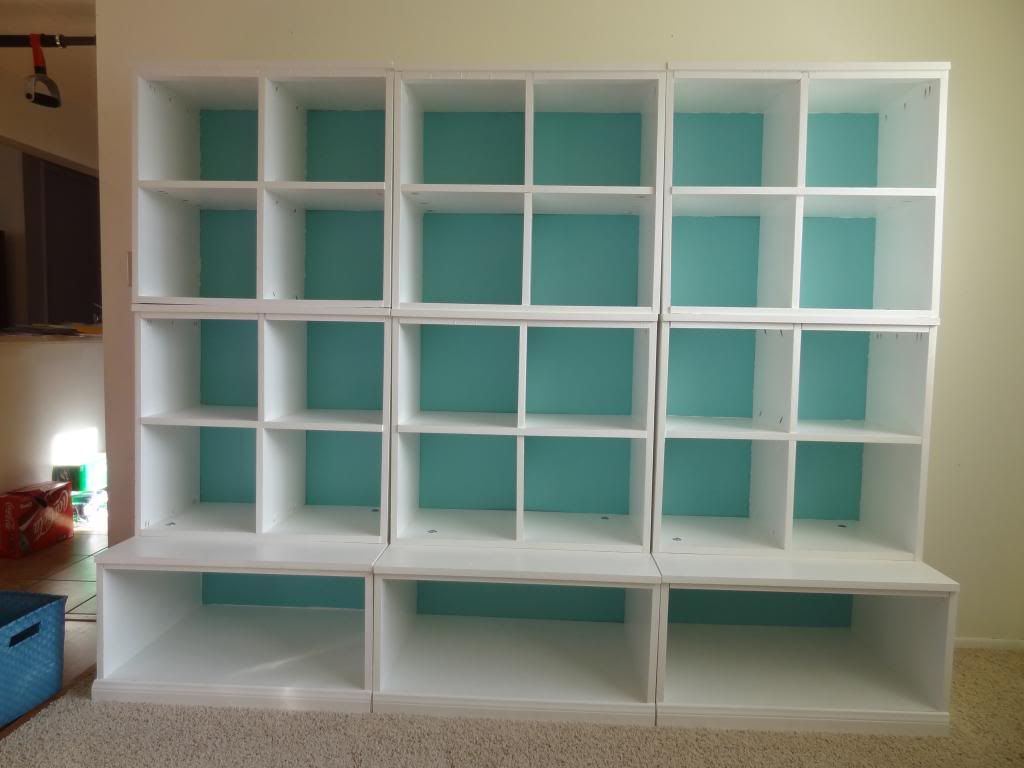
We set them up and I did some touch up painting on any spots that needed it.

Whew! Already looking so good! The hardest parts are finally done and now we just had to put all the totes and books in and we're good to go!

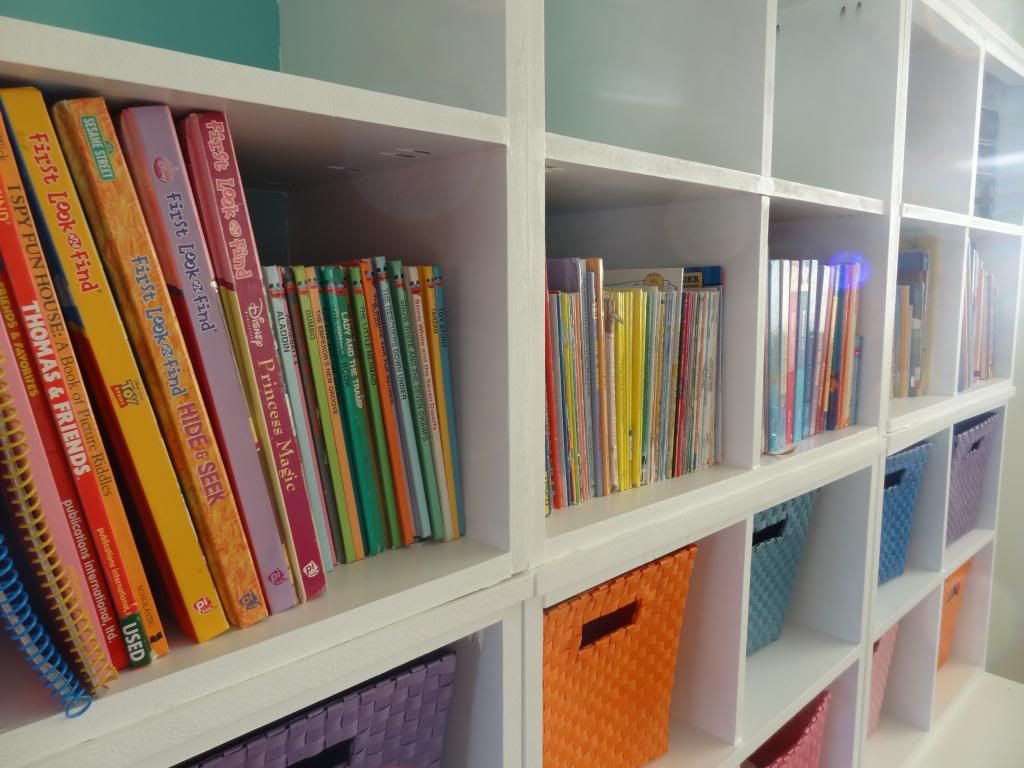
We took our children's movies, books, toys, games, and puzzles and arranged them in the best way possible. I had wanted the books to go on the second shelf, but then the kids had a hard time reaching the tote handles on the third shelf. So we ended up putting the books on the third shelf since they can reach the bottom of the book to pull it out.

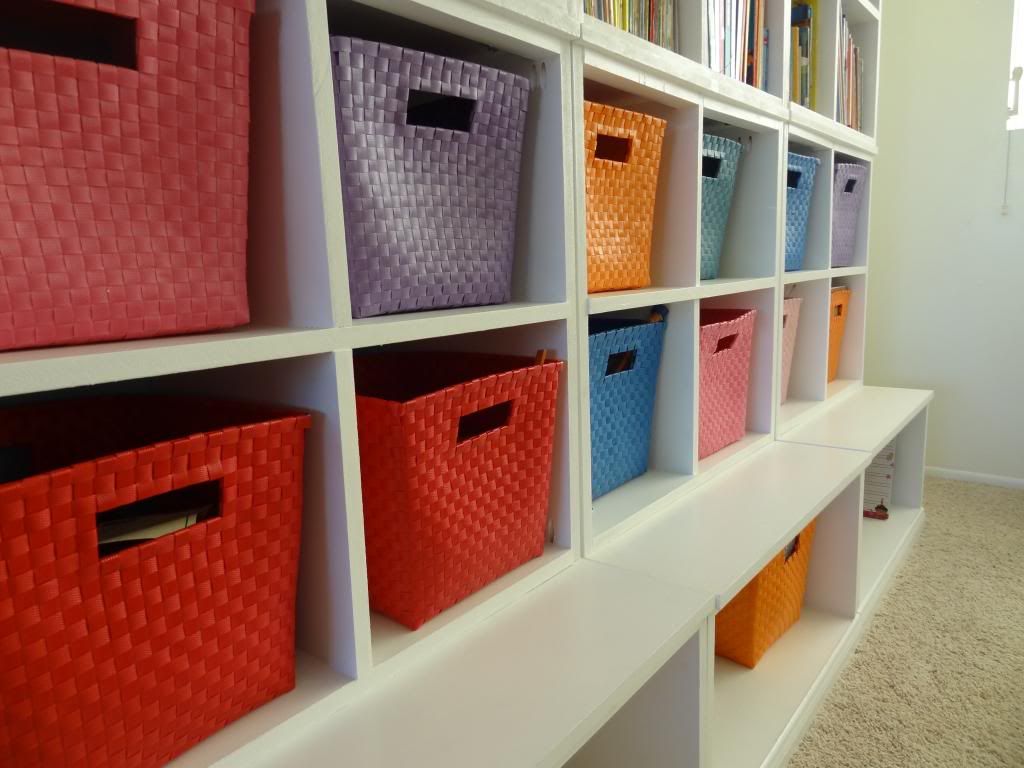
DONE! Here is how we currently have everything set up. Gabe and I will use the top shelf and the top of the storage unit for ourselves. We put the children's movies up top too because we don't want them reaching them. If they were accessible to the kids, I'm afraid they would be pulling them off the shelf and helping themselves (and possibly ruining the discs).


The children's books are on the third shelf. I currently have even more books that would probably take up another three cubbies that I'm trying to figure out what to do with. I did pick some out to donate but we all love books and I hate to have to limit it now.


The totes hold most of their toys. They have Lincoln Logs, coloring supplies, Alena's "make up"/hair supplies, matchbox cars, puzzles, and other random toys.

The bottom middle cubby holds all their puzzles. We had at least 25 puzzles and as I was trying to get them all to fit in that one space, Gabe had the idea to take all the boxed puzzles and put them in Ziploc bags. So we cut the picture off the box and put that and the puzzles pieces in a bag, then put them all into the orange bin. We left out the wooden and cardboard puzzles that do not have a box and also a couple floor puzzles that would have required more than one Ziploc bag. As you can see, it saved a lot of room utilizing the bags!


I now need to label all the totes so the kids know what goes where, making finding and cleaning the toys a breeze.

We are starting the thought process for making another one of these for the opposite wall. That one will look the same except the middle won't have cubbies. Instead, there will be a fold out table where the kids can color or play games at. I'm not sure when that will happen because Gabe will be gone the first two weeks of March on his last business trips before the baby arrives. And of course, after he comes home, we'll be waiting for the baby and our time is going to get crazy!

I'm so excited to have this project done and just love the results! What do you think? This was our first BIG project and even though it's not perfect, it came out just how we envisioned it.


Thursday, January 24, 2013

Project Playroom Update

As of now, Gabe has built all the storage shelves and we have been painting like crazy.

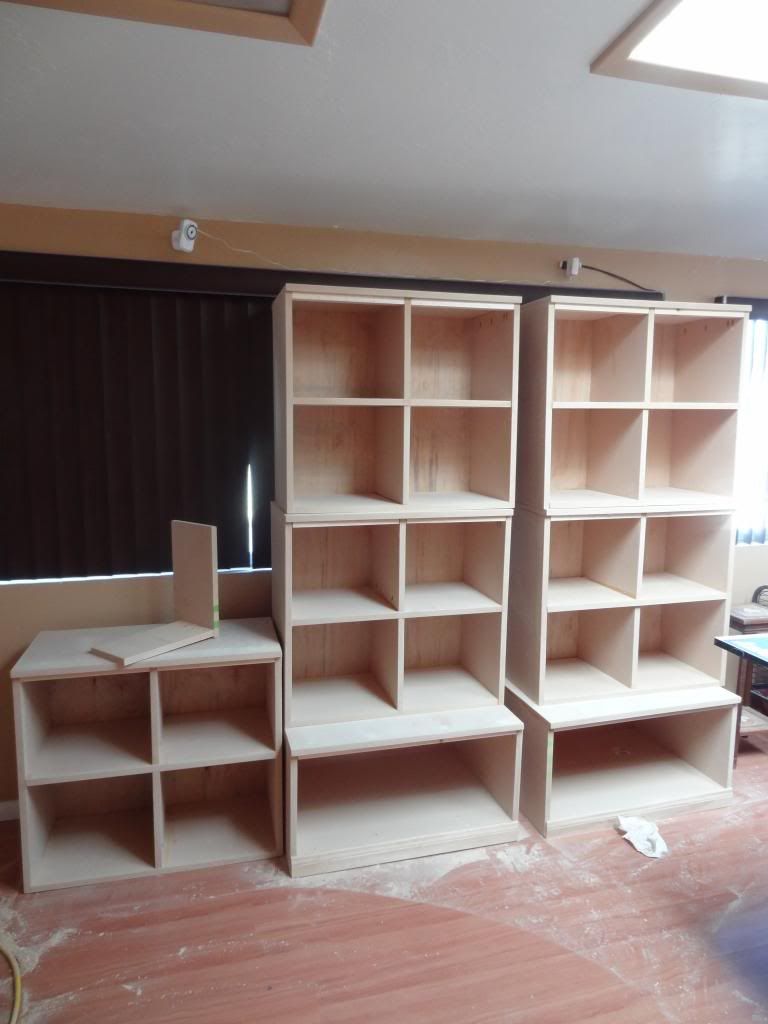
Here's an idea of what the shelves will look like set up. There will be three of the large cubbies with the four cube cubbies on top.

Gabe has an upcoming long business trip so we are working hard at trying to finish before he leaves. I've been neglecting some other household duties and painting all. day. long. I'm going to have lots of cleaning to make up for. I've painted so much my left hand is in constant pain/discomfort from holding the paint brush. And it's starting to travel up to my forearm now too.

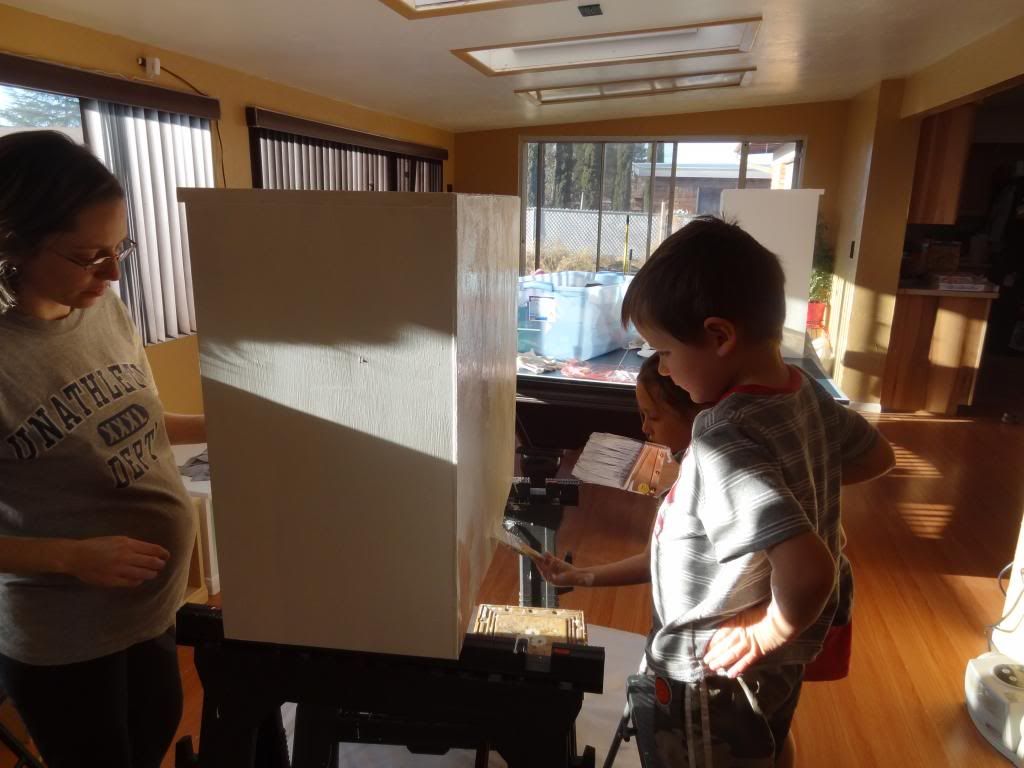
I'm in charge of painting the inside of the boxes and let me tell you, it is tedious! Because of the back of the inside being a different color, I have to take care not to get paint where it shouldn't be. I've done a good job of it but it is just so slow. So slow in fact, that Gabe has helped me by painting the insides too. He gets as close as he can to the corners and then I fill that part in.

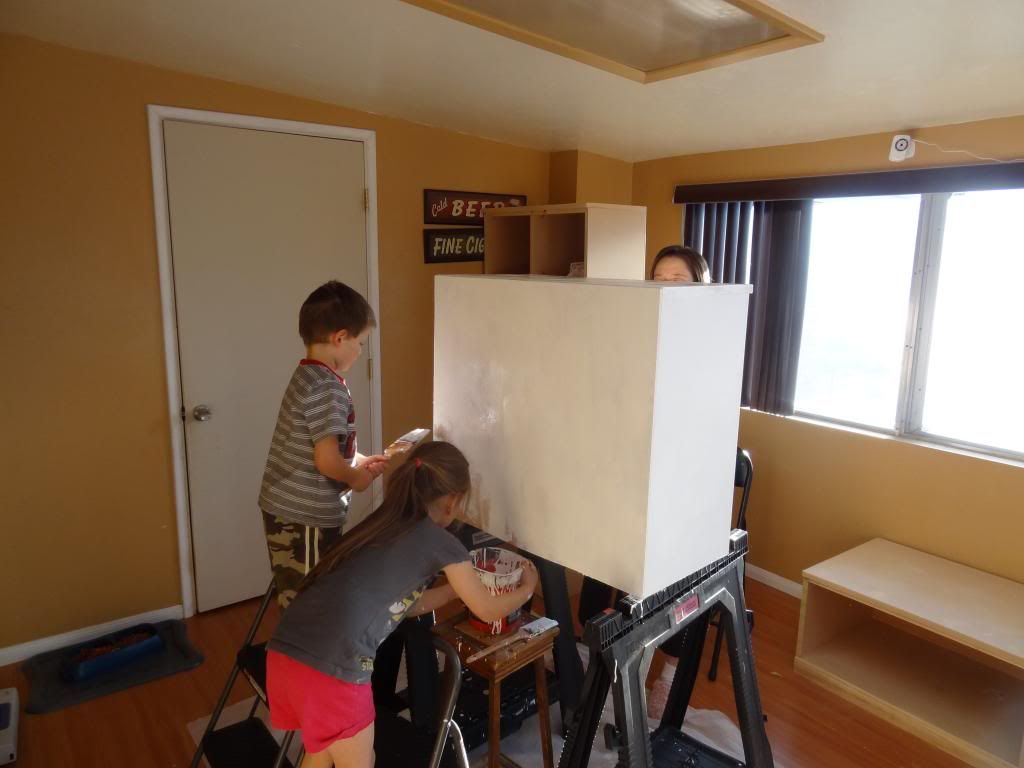
Even the kids are helping! We're letting them paint the back which will be against the wall.

Look! Proof that I really am helping too! And whoa to the belly!

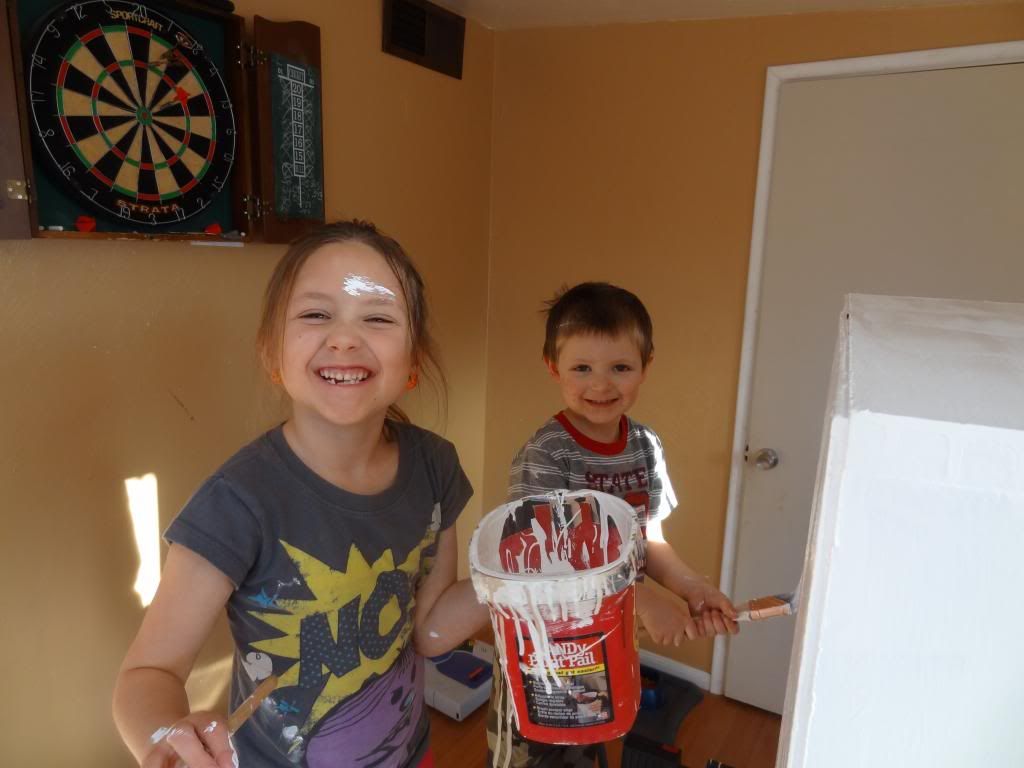
OMGoodness! The kids got paint everywhere. Their clothes, the floor, on themselves, and even their hair. But they had a good time and enjoy painting so it's OK.


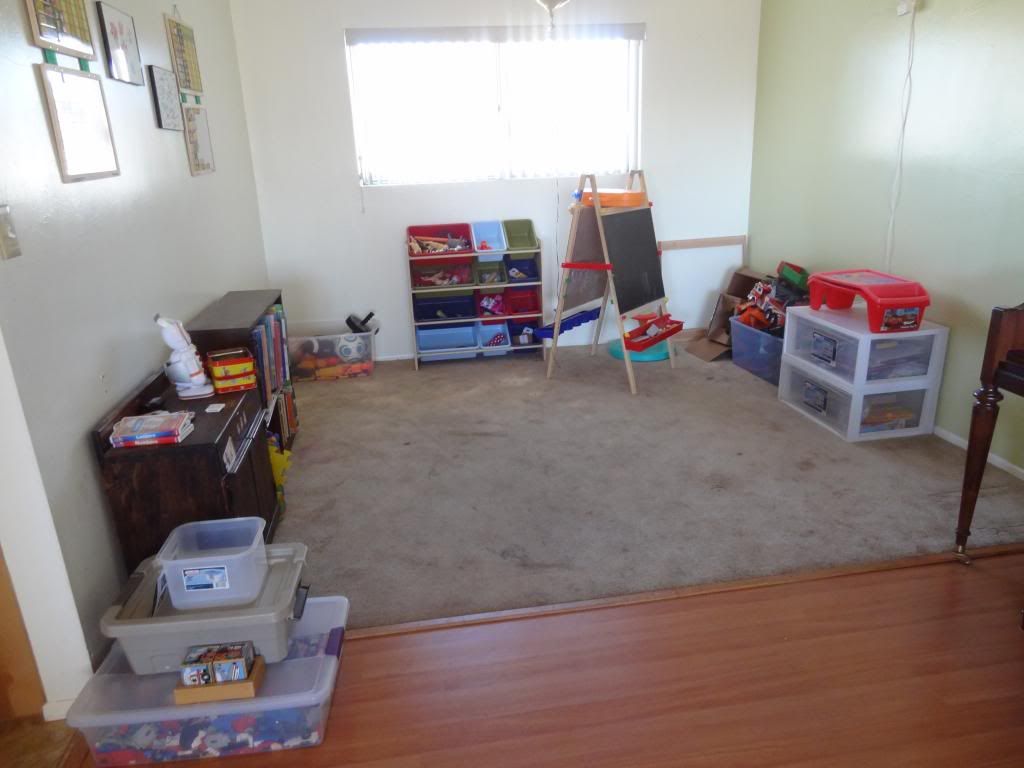
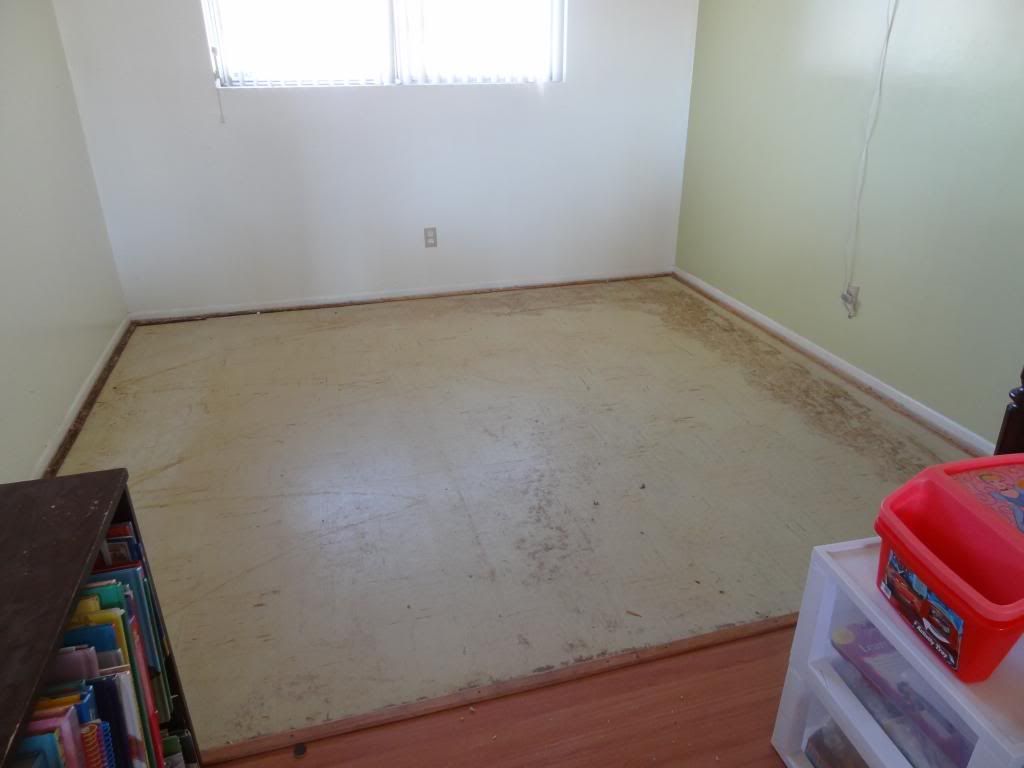
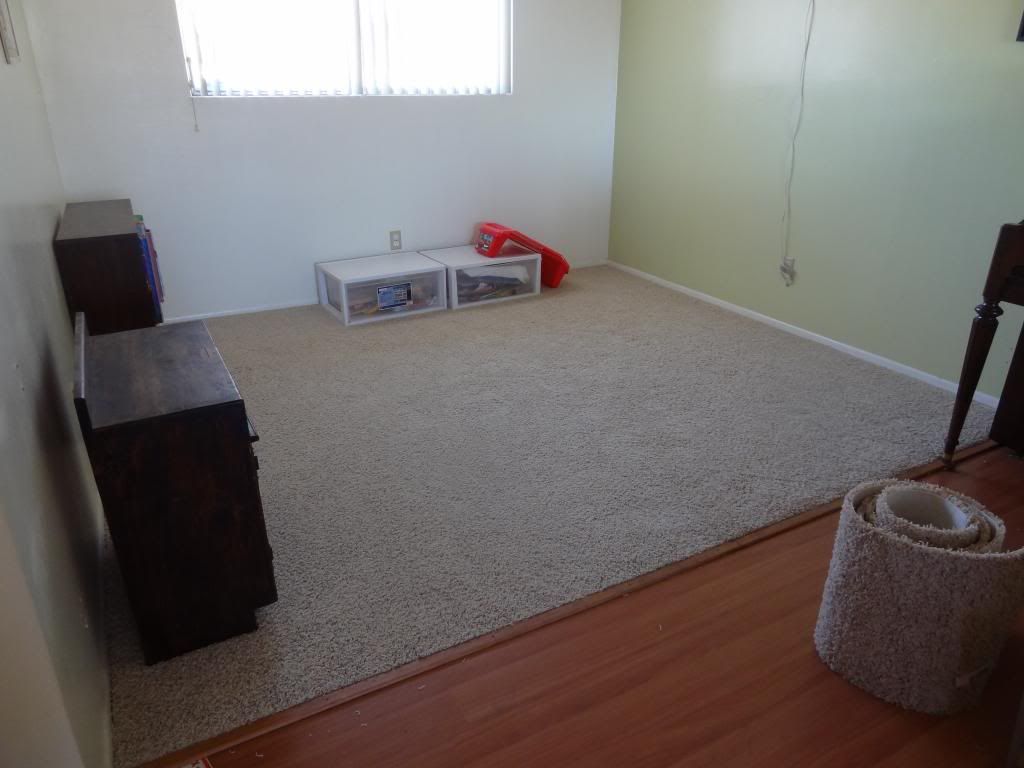
The carpet in the playroom was also redone this week! We had the bedrooms done a couple of years ago and now that we're redoing the playroom, it was a perfect time to get the old dirty carpet out of there. We replaced it with the same carpet that is in the bedrooms.

Here's a before pic. We've already gotten rid of a lot of toys and the toy box that was in the room.

And the UGLY tile (maybe laminate?) that was underneath.

Finally, the new BEAUTIFUL carpet. I am in love!


My next post should be the final product. We just received the totes that I bought online here today and there are just a few more boxes needing painting. So close now!


Monday, January 14, 2013

Project Playroom

I don't know if it's nesting or what, but I finally seemed to have some energy and cleaning motivation this week. I did one room per day and the whole family is loving the results! We still have the bedrooms and game room to do but our main living areas are clean. Woohoo!

As I was doing the rooms, each day I would pass by the playroom and think "Something needs to be done about this room." The floor was clean and stuff was put away but there was just no organization what so ever. We have outgrown the two small bookshelves now so that the extra books had to be placed in a temporary place. We had a big toy box that collected all the larger toys but the kids always had a hard time finding something and then getting it out without pulling out other toys and making a bigger mess.

I talked to Gabe and he agreed that something needed to be done and quick. So to the computer we went... searching for solutions. We found the bookshelves and playroom system we wanted but there was just one problem. They were SO expensive! We found what we wanted for a decent price at IKEA but go figure, the closest one is 180 miles away. Ordering online through them would cost an extra $200 in shipping fees! Well crap.

We were back to square one. So Gabe kept searching and ended up finding a great blog that gave us the answer. This lady is seriously awesome. She'll take big name store items and make it herself for a fraction of the cost. Plus, she gives you all the measurements and directions on how to do it! Now we're getting somewhere! So off to Lowes we went and a few hours and dollars later, we were ready to build.

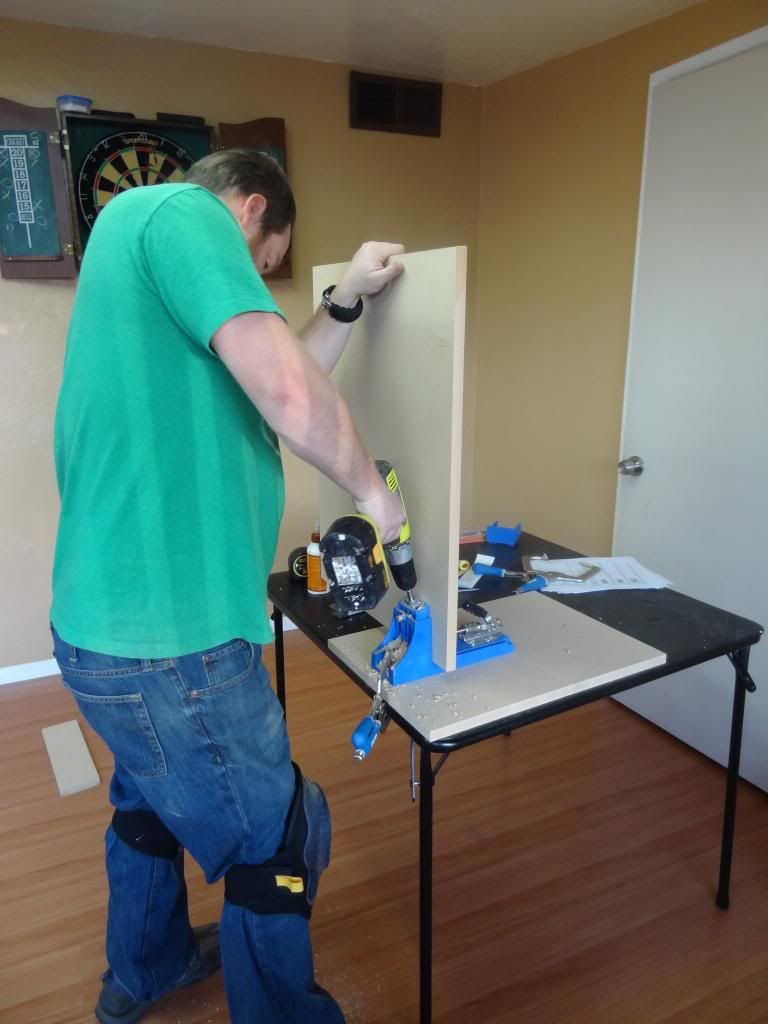
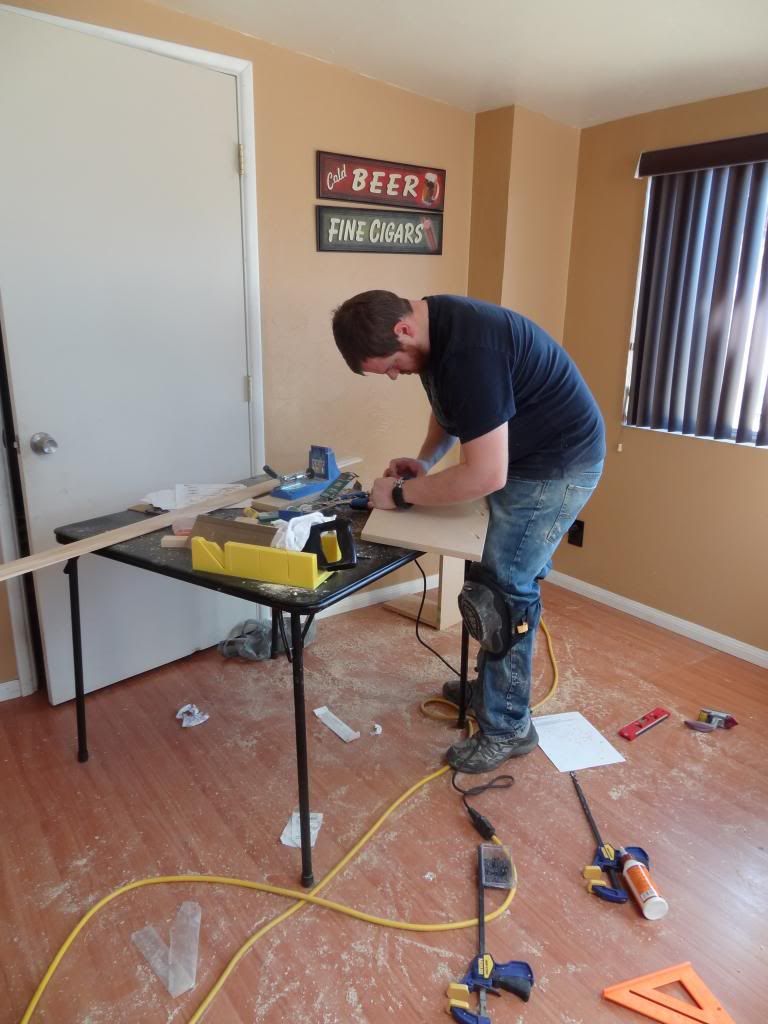
Here's our three day process so far...

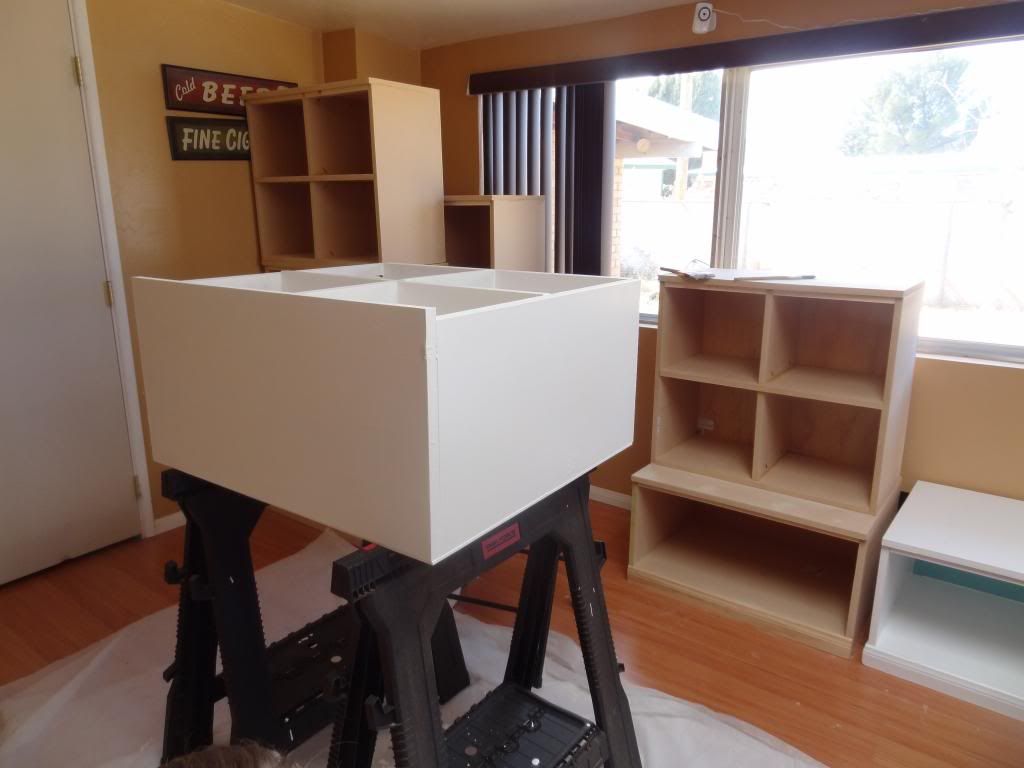
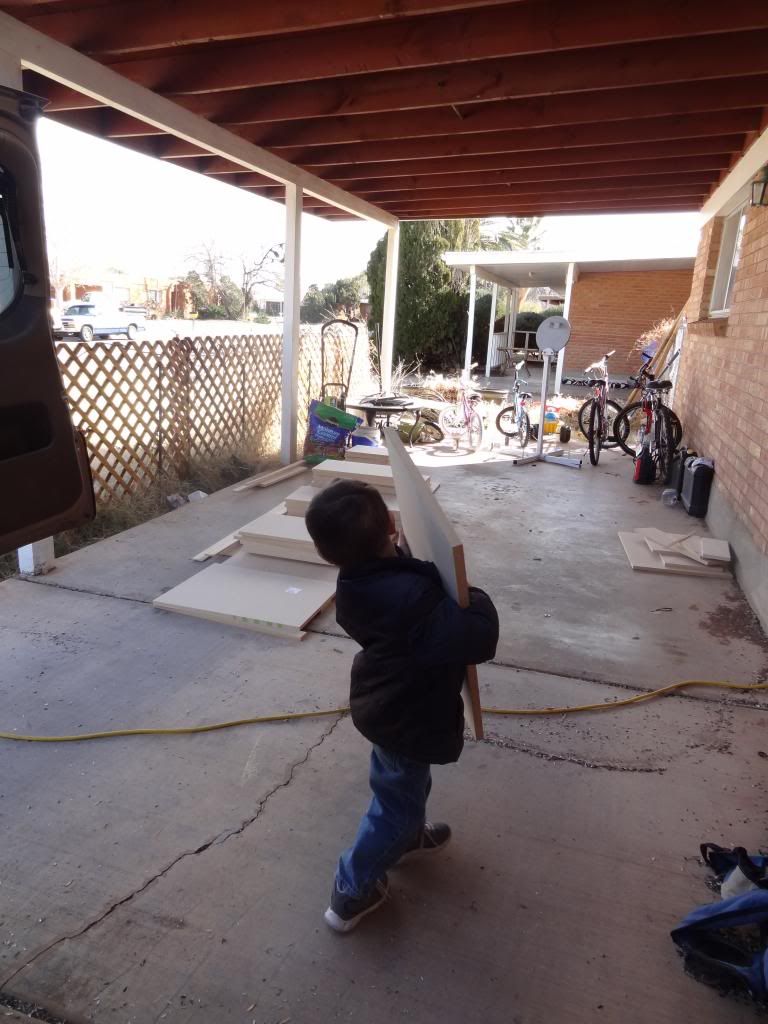
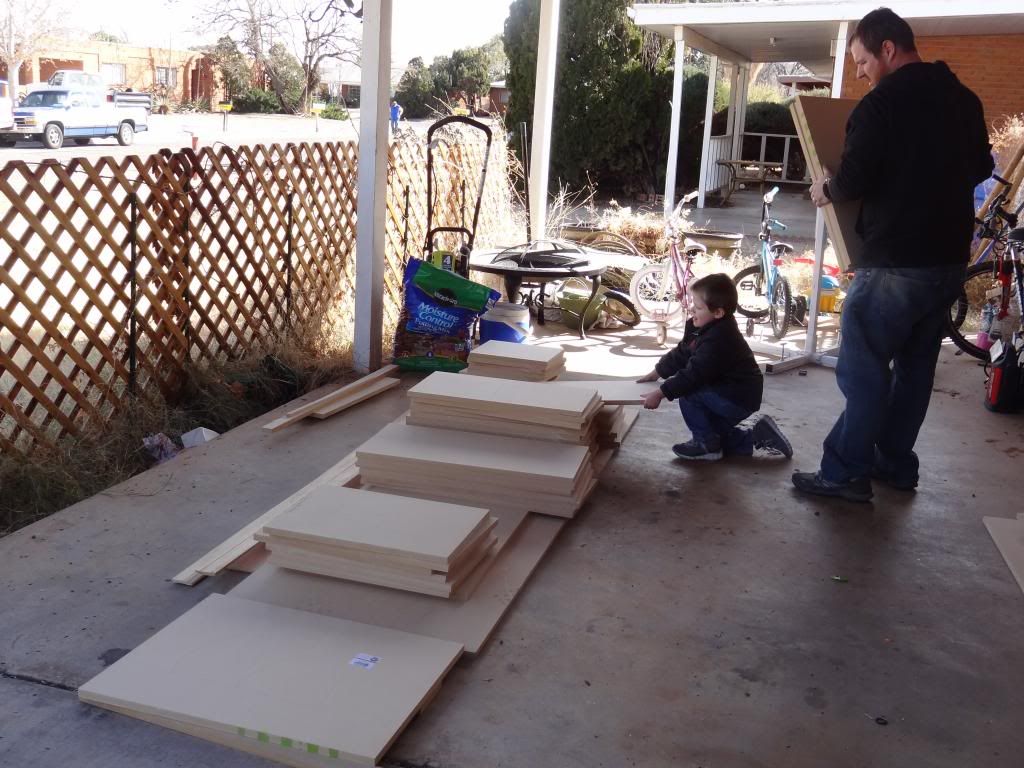
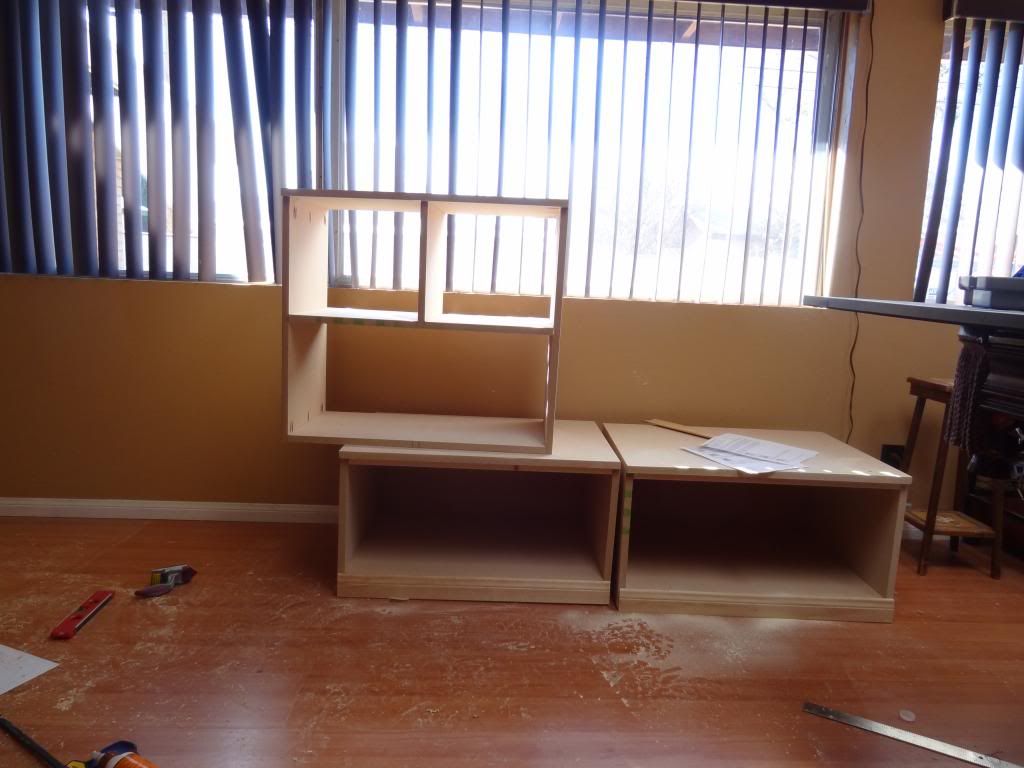
We are using MDF board for this project and actually had Lowes cut everything down to the size we need. It saved us money because we didn't have to buy the table saw to do it and the trouble of doing it ourselves.

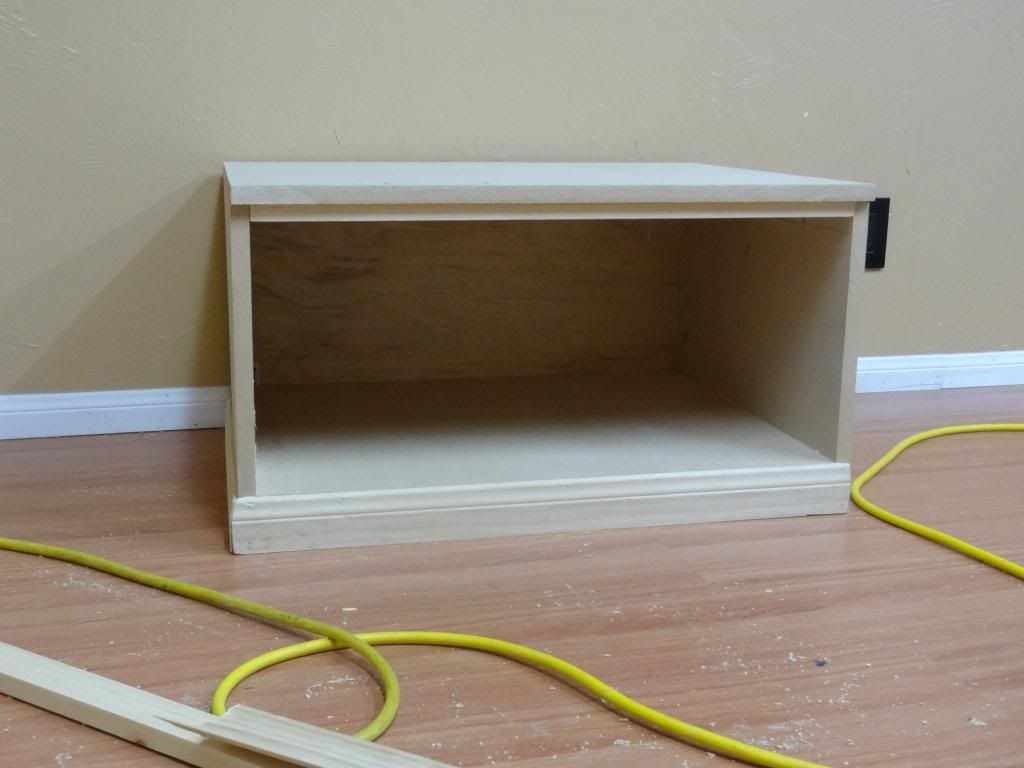
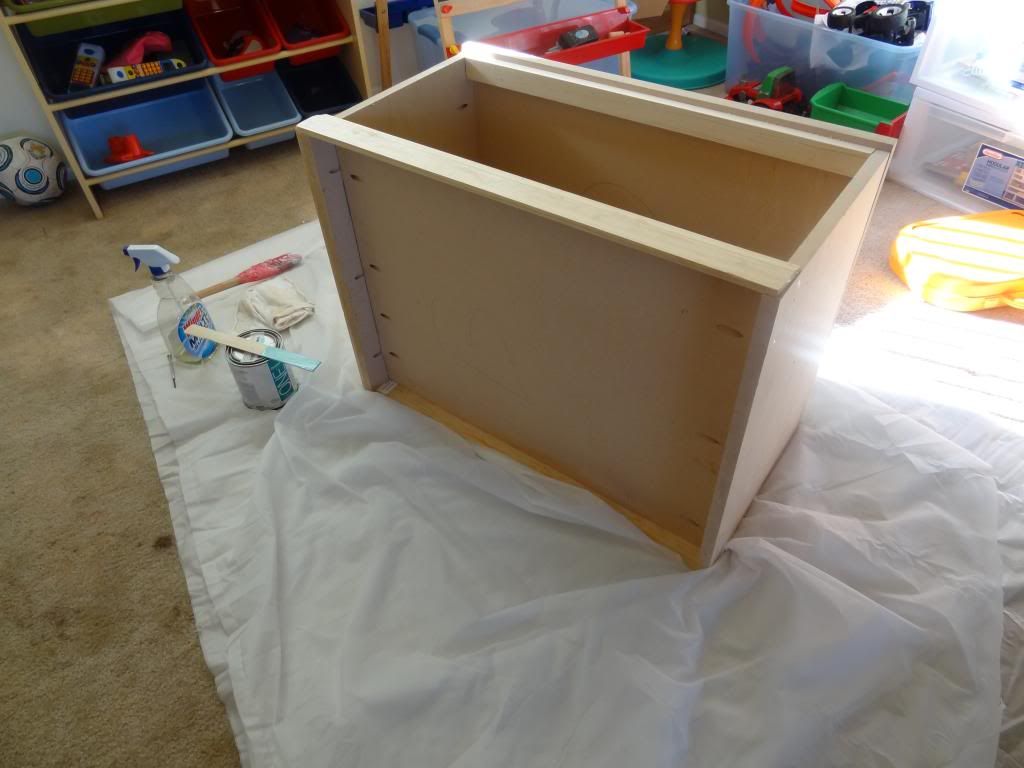
The first box is done and ready for painting!

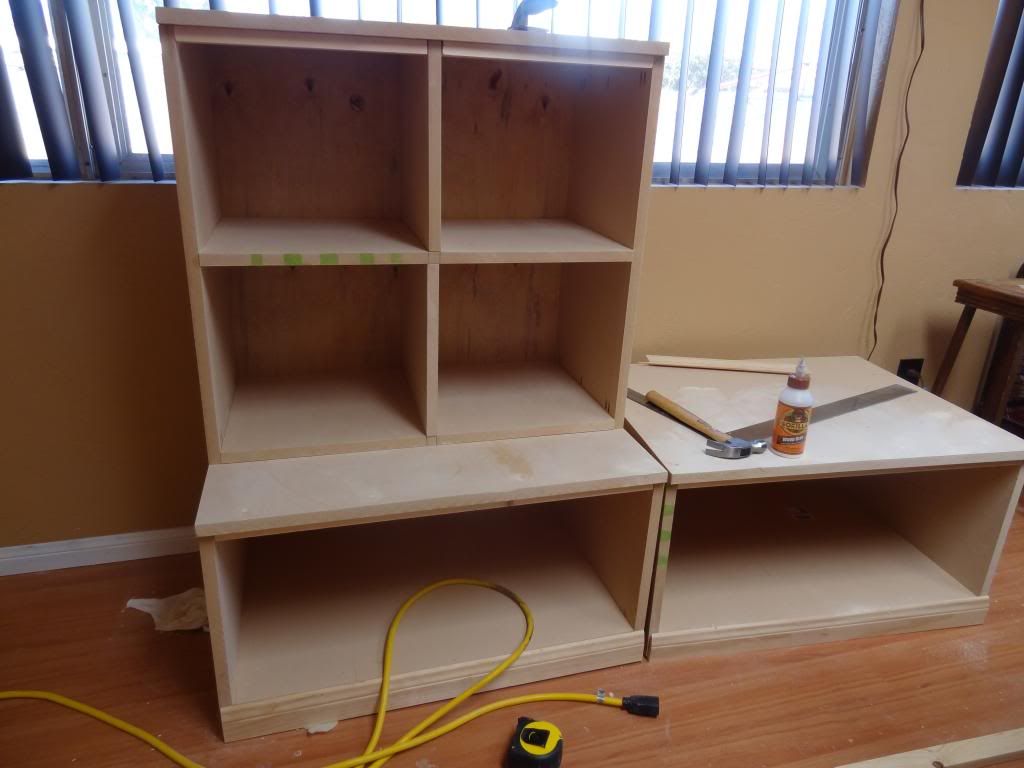
Three boxes done! The larger bottom ones will be the base and for games or odd sized toys. The four cubby box will be for books and will also have totes in them for toys (as soon as I can find totes I like). The four cubby boxes will go on top of the larger base box as shown in the picture.

Ready for painting!

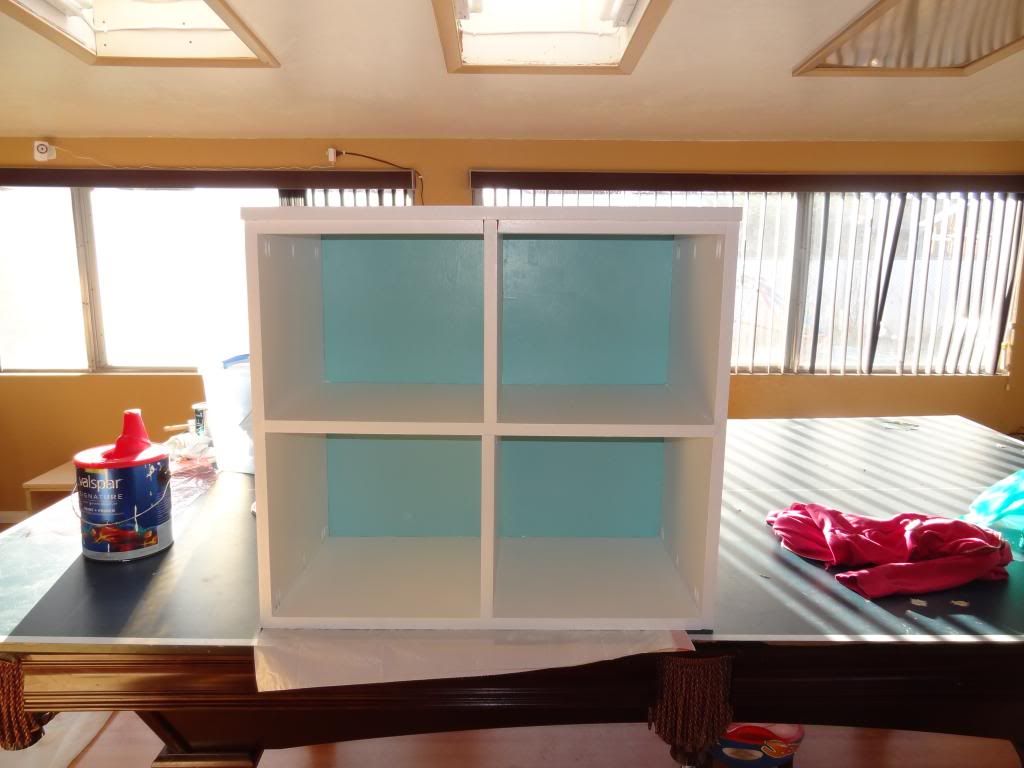
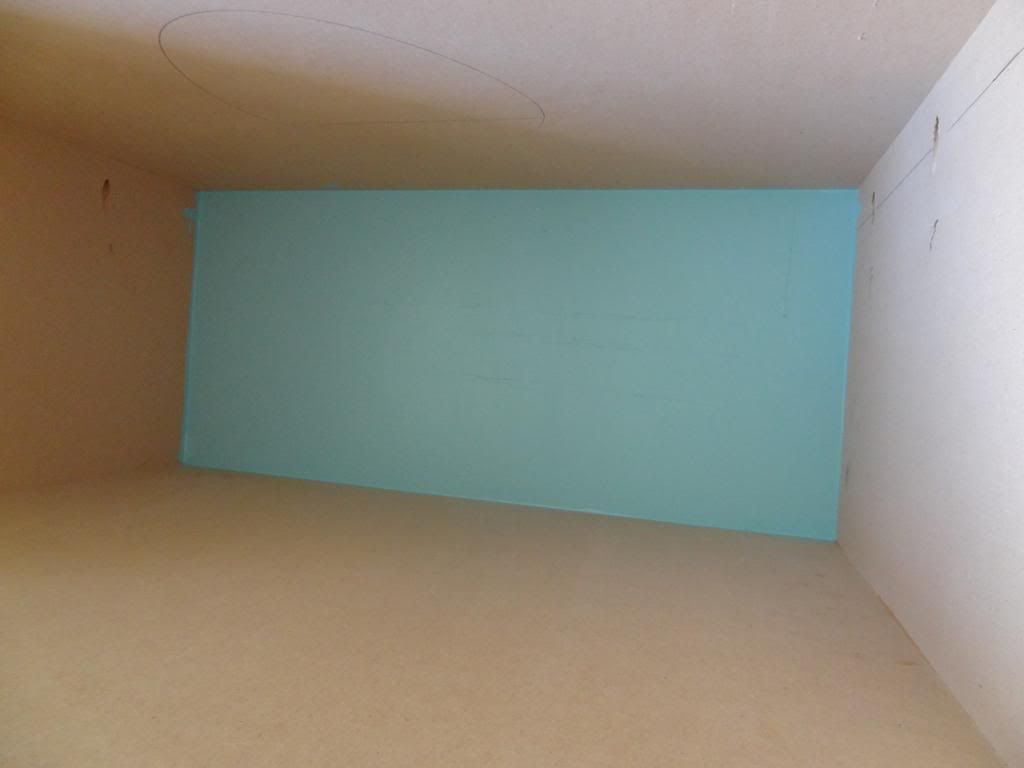
This is the inside back of the box. The boxes themselves will be white (Valspar primer and paint in one in Clean White) but I wanted to add some color to it. I think adding just a little of this blue to the back where it will "pop" out in various parts will do the trick nicely. This color is from Olympic called Aqua Chiffon in a Satin sheen and I went with the primer and paint in one (it only increased the price .50 for a quart!).

We're having a cold spell here in Southern Arizona so Gabe is working inside. Also, given the lack of workspace and proper tools, he's managing to build the boxes well despite the added difficulties. We won't be able to set these up in the playroom until the carpets are replaced. In May of 2010 (Gabe says 2011) we had all the bedroom carpets replaced but left the playroom to do at a later date. It was an ugly brown and had holes from the dog chewing on it. That carpet was a real eye-sore to look at so we figured this would be the perfect time/excuse to have them redone. Once the storage unit is built and set up, we won't be able to move it since we will be anchoring them to the wall.

I'll keep updating the more it comes along. I'm so excited to be doing this! It's hard work and a huge learning experience but I know it will turn out great and we'll appreciate it more because we did it.

Is anyone doing any sort of projects? Big or small? I'd love to hear about them.