Showing posts with label crafts. Show all posts

Monday, February 24, 2014

Busy Time Activity

Some days kids go looking for something to do or make and I know with mine, many times all they find is trouble. Enter Pinterest. Glorious Pinterest. I found a new activity that kept the kids busy for quite a while and didn't cause any fights. Win win!

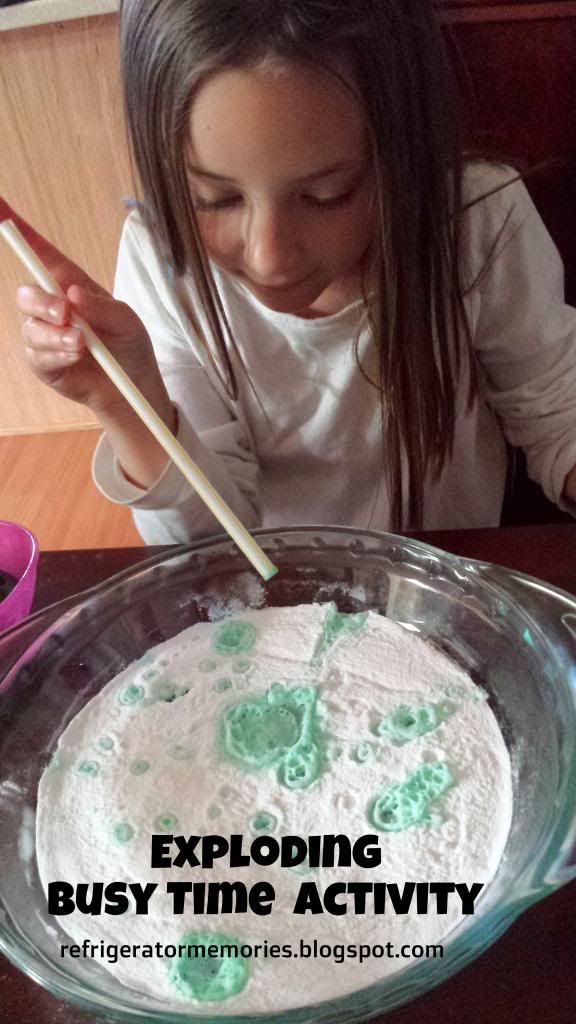
You will only need a pan/dish, small bowl, medicine dropper, baking soda, vinegar, and food coloring.

This activity is pretty self explanatory. Vinegar and baking soda cause an explosion-like reaction that kids are fascinated with. And the fact that they can do it themselves made it even better! I put the vinegar in a bowl with some food coloring and the baking soda covering the bottom of a dish. I couldn't find medicine droppers and could see turkey basters ending up making a huge mess so we made do with straws and just held our fingers over the top, then releasing them to drop the vinegar.


Once all the baking soda was covered and wet, we poured the remaining vinegar in. The kids discovered you could "write" in the mixture. Fun!


 Cleanup was easy as all I had to do was pour it down the drain. And BONUS: Vinegar and baking soda are great for cleaning so I used a little to scrub the sink nice and clean!

Monday, February 10, 2014

Easy Valentine Card Holder

I'm going to show you one of the quickest and easiest Valentine's Day card holders you can make.


All you need is:

Cereal box
wrapping paper (non-Christmas or white side turned out)
Scissors
Glue or tape
Stickers and other decorations you have on hand

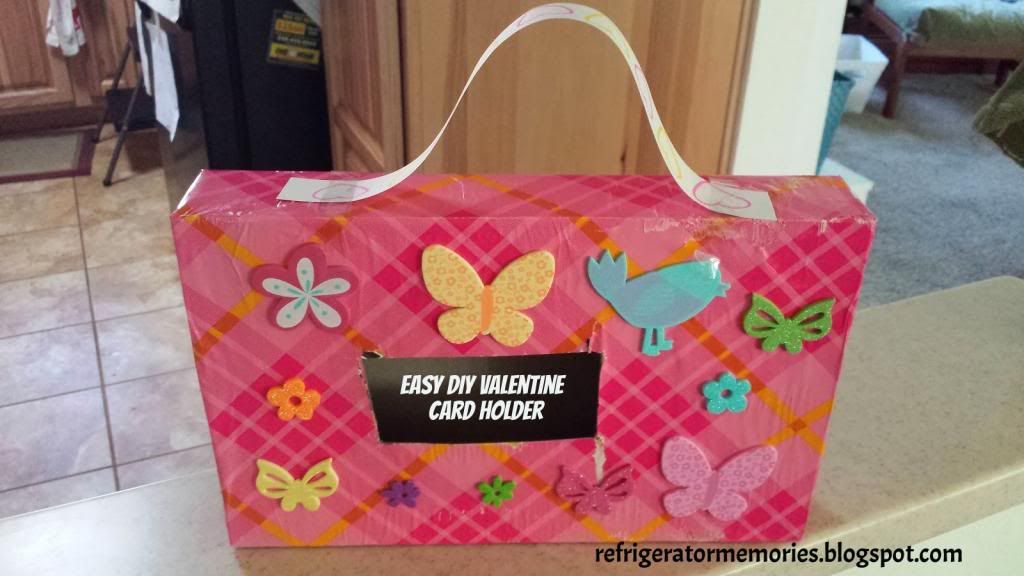
The first step is to take your cereal box and either measure how much wrapping paper you'll need or eyeball and tape it as if wrapping a gift. You can cut a hole ahead of time or after the paper is on like we did. Gabe helped wrap it but then Alena took over and added a handle and decorated it. Ta-da!
That's it, it's done! So easy it practically doesn't need directions. :)

Easy Peasy and super cute!


Thursday, November 14, 2013

Turkey Turkey

Today I'll be showing you an easy turkey craft perfect for the Thanksgiving season.

Things you'll need:
  • pencil or pen
  • scissors
  • empty toilet paper roll
  • markers
  • glue
  • colored construction paper
  • googly eyes (optional)
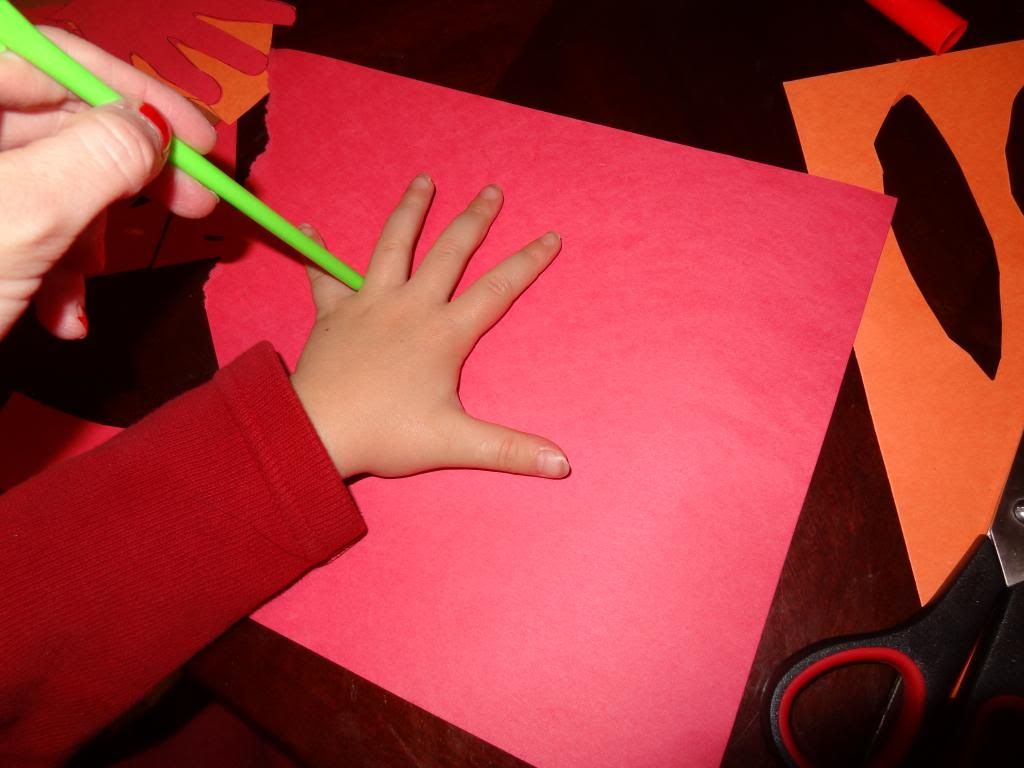
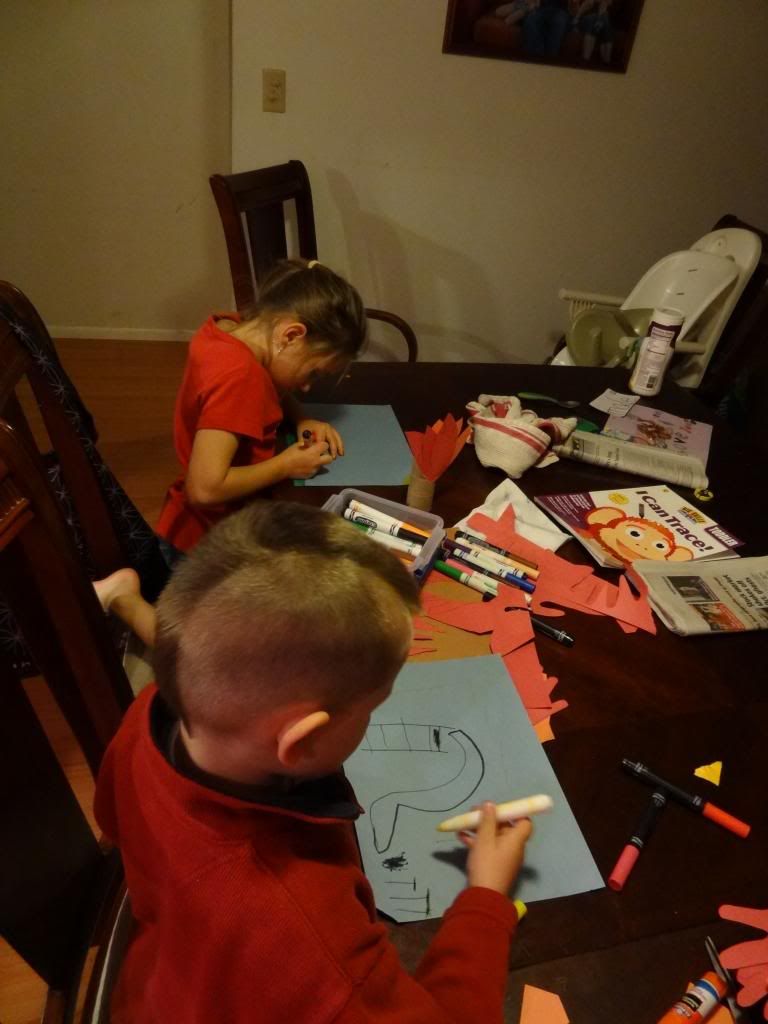
First, you or your child will trace your child's hand on the construction paper with the pen or pencil. Do this several times as they will be the turkey's feathers.


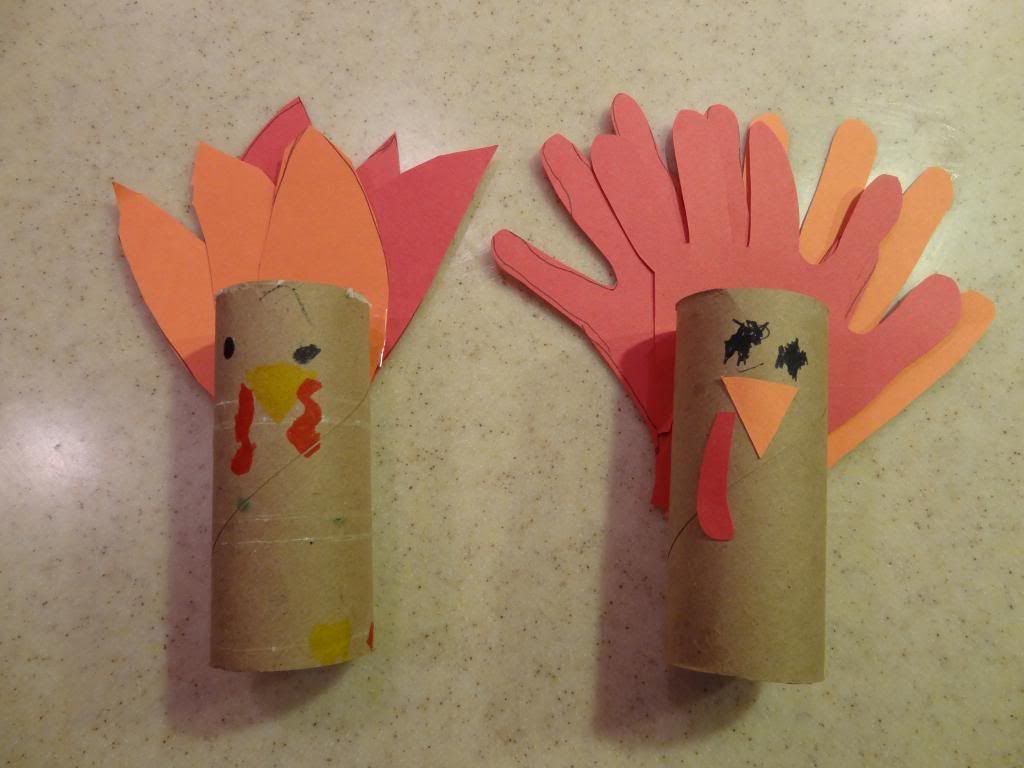
Next, cut out the hands and glue them onto the empty toilet paper roll. You'll want to glue them in a fan shape so they're spread out.

Either draw or glue on googly eyes. You can use scraps from the leftover paper to make the beak, feet, and wattle. Drawing them on is OK too.


You can see here how with Alena's turkey (on the left), she drew on the face and feet. She also drew feathers on the paper instead of using her traced hand.

There you have it! Easy peasy! It was simple enough that the kids were able to do most of it themselves.

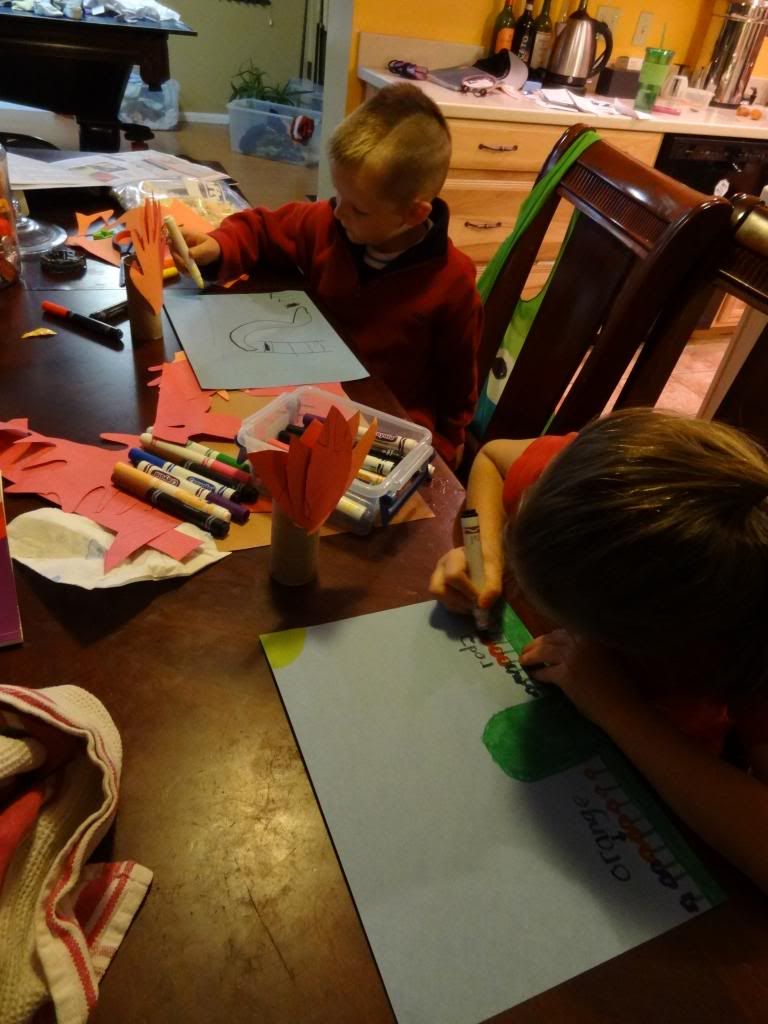
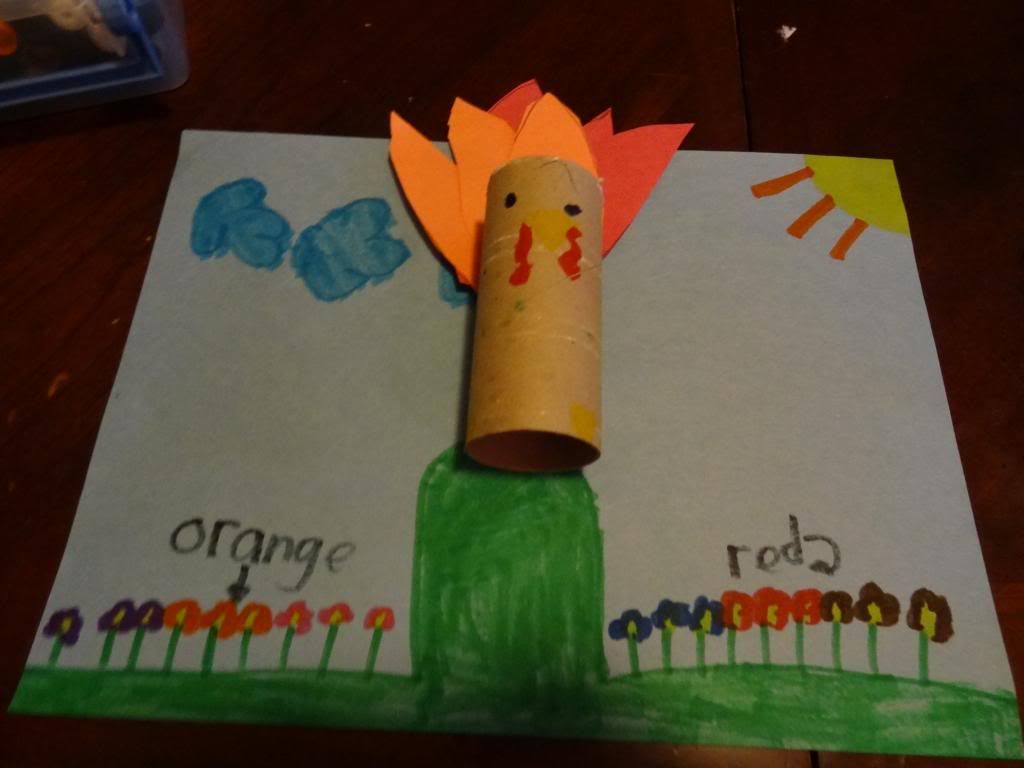
Alena and Christian took it one step further and drew backgrounds for the turkeys. Cute!

Alena's pasture and flowers scene.
Christian's playground scene.

What kinds of fall crafts have you done? I'd love to hear em!

Tuesday, June 19, 2012

Hair Bows - Not as Easy as it Looks

Last night I took Alena to Walmart and we picked out supplies to make a bow holder for her hair bows and also a few things to attempt to make a bow myself.

I had the idea of getting a wooden letter A and hot gluing two strands of ribbon on the bottom of it. Go figure, they were out of that letter so Alena picked out a wooden butterfly instead. I didn't want to mess with paint, glitter, and all that so I took her to the fabric section where she picked out some fabric to cover the butterfly. Out of all the pretty pink fabric with fairies, princesses, and all things girly, she picked none. And instead, went with a fabric with duckies on it. Oh well... I wanted this to be all her decisions so duckies it is! I also let her pick out some buttons that we would glue on. This time, she picked pink. :)

I've been wanting to try making hair bows for a while now, so we picked out some red and blue ribbon for Fourth of July. We didn't like the choices in white ribbon, so we opted for some little white flowers instead.

This morning, Alena and I sat down at the table and started working on the bow holder. I traced the butterfly pattern on the fabric and cut it out. Then Alena helped me hot glue it on. She added the buttons and I glued some ribbon the bottom. Ta-da! Done. Easy peasy.

Proud of her work.


While Alena was hanging all her bows on it, I started working on making a bow for her. I thought I would just be shaping it into a bow, gluing it on, and it would look fantastic. HAH! Boy, was I wrong! I had the hardest time trying to shape it and have it keep its shape while trying to glue it on a clip. I ended up gluing it wrong and had to pull it off and start over.

This is tedious stuff and my hand even started to cramp up! Pathetic, I know. But I was determined. I started out by gluing a small strip of ribbon to the clip.


Then making a large bow with some 7/8" wide red ribbon. I had to use some thread and wrap it around the center of the bow in order for it to maintain its shape. I did the same with some 5/8" wide blue ribbon and glued them both to the clip with the blue on top. I then took the small sparkly ribbon and wrapped it around the center of both to hide the thread and to give it a better overall look.


Last, I glued the flower in the center.


I spent another 30 minutes trying to make a bigger and better one. That one turned out OK. I suppose these aren't bad for a first try, right?


I don't know. What do you think? I'd love to get better at it because even though it was hard, I still like that it was something made from my own two hands. If any of you has some helpful tips, I would love to hear them!